

Editing Account Administrator Role Settings
The Primary Account Administrator has complete control over your Chemical Management account, including updating any billing information, and this role is automatically assigned to the main account contact. Other users can also be assigned as Account Administrators but they will not have access to update or edit billing information. Only users assigned to an Account Administrator role can edit Account Administrator role settings.
Account Administrators also have the ability to create additional Account Administrator roles with different permissions. For more information see Creating New Roles.
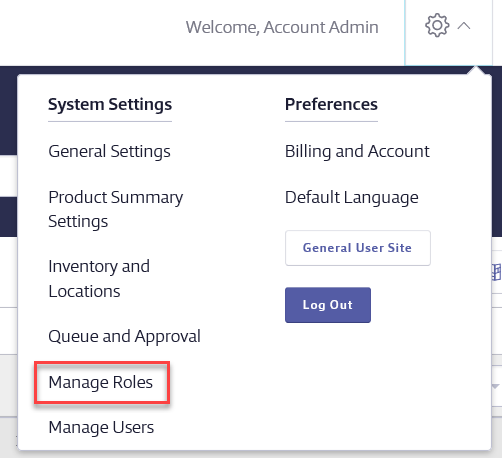
To edit Account Administrator Permissions, select Settings > Manage Roles.
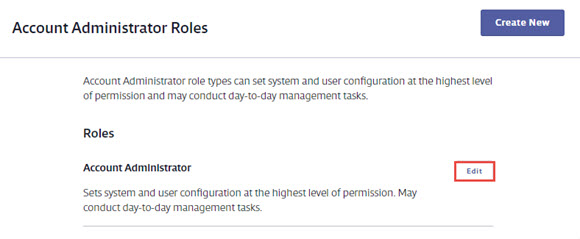
On the Manage Roles page, click Edit next to the Account Administrator role you want to edit.
The top section of the Manage Account Administrator Role Settings page provides information about the role you are editing.
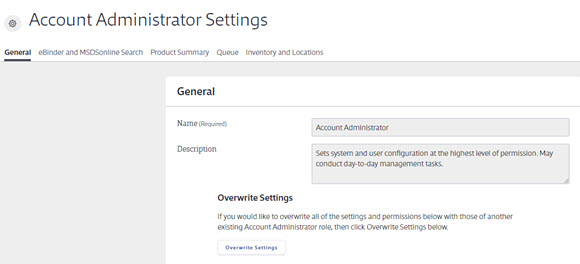
Permissions are organized into the following five sections with multiple options within each:
- General
- eBinder and SDS Search
- Product Summary
- Queue
- Inventory and Locations
Use the menus at the top to jump directly to that section of permissions. After you adjust any permissions, click Save Changes.
The descriptions below are based on the Chemical Management system defaults for this role. Note that not all account types have access to all options.
General Permissions
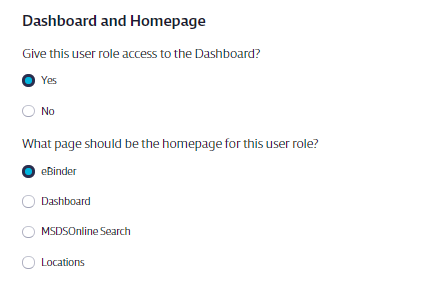
Dashboard and Homepage – Choose whether users assigned to this role will have access to the Dashboard in your account, as well as which page they will see first when they log in.
Email and Notifications – Select which email notifications users with this role get, as well as how often they receive them. See Email and Notifications for more information.
Access to Features and Tools – Determine if users assigned to this role have access to these features in your account.
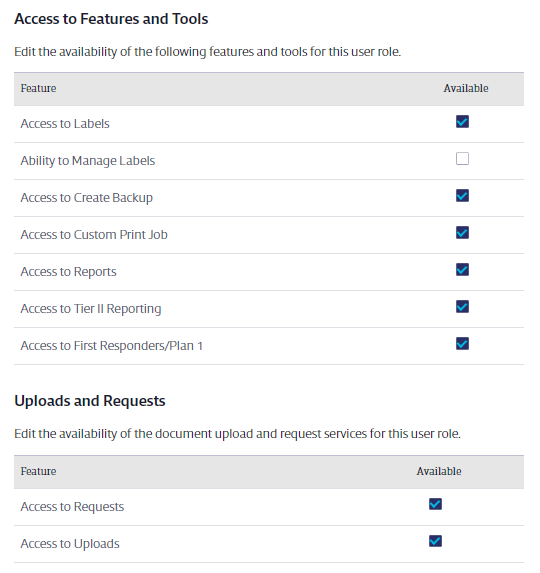
- Select Access to Labels to grant access to the Print Labels feature. See Printing Labels for more information.
- Select Ability to Manage Labels to enable users to create or edit new label templates. See Creating a new label template for more information.
- Select Access to Create Backup to enable users to create and download a backup of your account, and to batch-print safety data sheets from your account. See Backing up your account for more information.
- Select Access to Custom Print Job to enable users to request a quote from VelocityEHS for the cost of having us print the safety data sheets in your eBinder.
- Select Access to Reports to grant access to the Reports page.
- Select Access to Tier II Reporting to enable users to generate a Tier II report from the Reports page. See Creating the Tier II Form for more information.
- Select Access to First Responders/Plan1 to enable users to share the eBinder with first responders in your area. See Setting up first responder access to your eBinder for more information.
- Select Access to Requests to enable users to enter Requests for safety data sheets that they were unable to locate in SDS Search or in the account’s eBinder. See Requests for more information.
- Select Access to Uploads to enable users to upload safety data sheets that they were unable to find in SDS Search or in the account’s eBinder. See Uploads for more information.
Reconciliations – Determine if users assigned to this role have access to these options in your account.
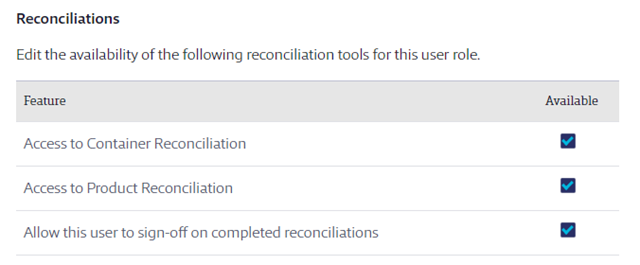
- Select Access to Container Reconciliations to enable users to perform a container reconciliation. See Container Reconciliation for more information.
- Select Access to Product Reconciliation to enable users to perform a product reconciliation. See Product Reconciliation for more information.
- Select Allow this user to sign-off on completed reconciliations to enable users to sign off on completed container and/or product reconciliations. Note that the role must have access to perform a reconciliation in order to be able to sign off.
Product Options – Determine if users assigned to this role have access to these options in your account.

- Select Ability to delete products from the organization’s eBinder to enable users to delete safety data sheets from your account’s eBinder. See Archiving and Deleting Safety Data Sheets for more information.
- Select Ability to archive products to enable users to archive safety data sheets in your account’s eBinder. See Archiving and Deleting Safety Data Sheets for more information.
- Select Ability to attach files to products to enable users to attach files in the Product Summary for safety data sheets in your account’s eBinder. See Attach Files for more information.
- Select Ability to add/edit/delete attached file categories to enable users to create, edit or delete attached file categories in your account’s eBinder. See Attach Files for more information.
- Select Ability to mark products as banned to enable users to ban products in your account’s eBinder. See Banning Products for more information.
eBinder and SDS Search
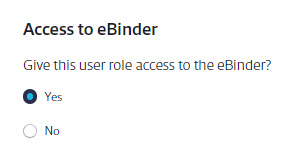
Access to eBinder – Determine if users assigned to this role have access to your account’s eBinder.
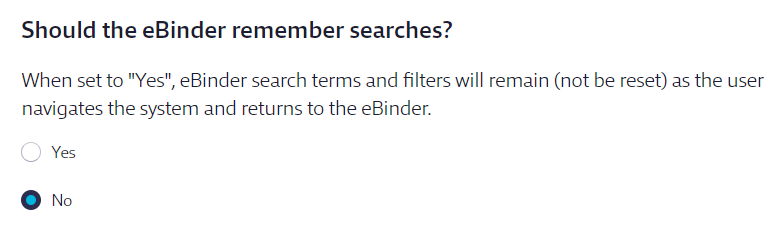
Remember eBinder searches – Determine if search criteria are saved when navigating away from the eBinder and then back. For example, “Yes” allows users with this role to perform an eBinder search, go to the Product Summary for a product, and then return to the eBinder with their search results in place.
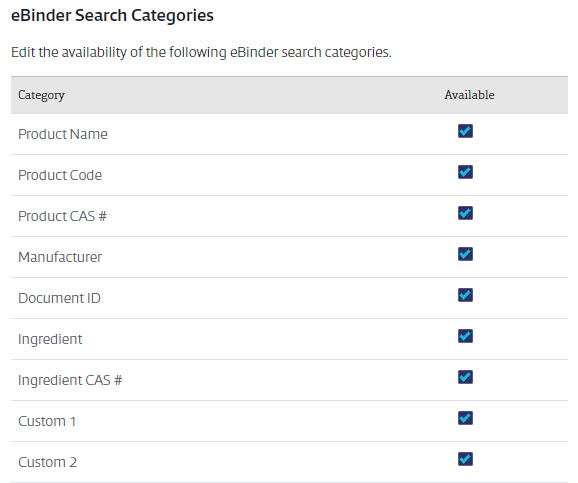
eBinder Search Categories – Determine if users can search your eBinder by these categories. Categories selected here display in the Categories menu in the eBinder for users assigned to this role.
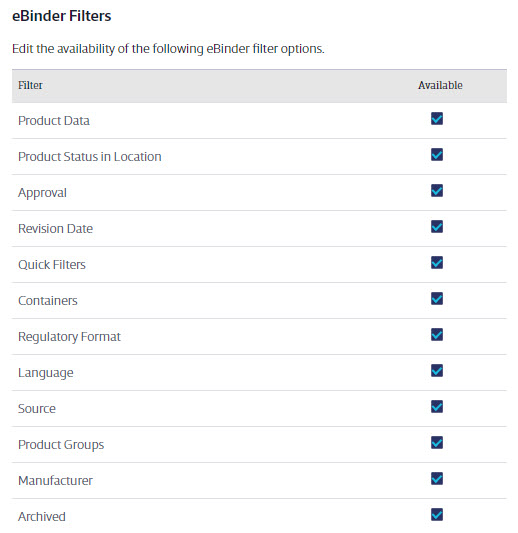
eBinder Filters – Determine if users can filter their eBinder searches by these filters. Filters selected here display in the Filters menu in the eBinder for users assigned to this role.
SDS Search Options – Determine how users assigned to this role can interact with SDS Search.
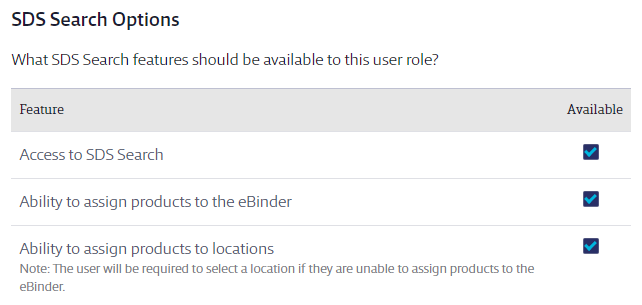
- Select Access to SDS Search to enable users to access SDS Search to look for safety data sheets.
- Select Ability to assign products to eBinder to enable users to add safety data sheets from SDS Search to the eBinder.
- Select Ability to assign products to locations to enable users to add safety data sheets from SDS Search to the eBinder and assign them to locations at the same time.
Queue
Access to Queue – Determine how users assigned to this role can interact with the Queue.
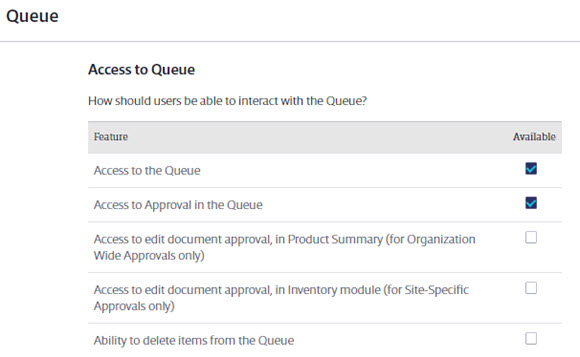
- Select Access to the Queue to enable users to see the Queue and add documents from the Queue to the eBinder. See Using the Queue to track and add safety data sheets for more information.
- Select Access to Approval in the Queue to enable users to approve or not approve documents in the Queue. This permissions is a prerequisite for assigning users in this role as approvers in an Approval Workflow. See Chemical Approval Tools Overview for more information.
- Select Access to edit document approval, in Product Summary to enable users to change a safety data sheet’s status from Approved to Not Approved (and vice-versa) in the Product Summary for SDSs that went through an Organization-Wide Approval workflow.
- Select Access to edit document approval, in the Inventory module to enable users to change a safety data sheet’s status from Approved to Not Approved (and vice-versa) in the Inventory module for SDSs that went through a Site-Specific Approval workflow.
- Select Ability to delete items from the Queue to enable users to delete safety data sheets from the Queue.
Document Routing Options – These options are set using the Queue and Approval menu. See Configuring Queue and Approval Processes for more information.

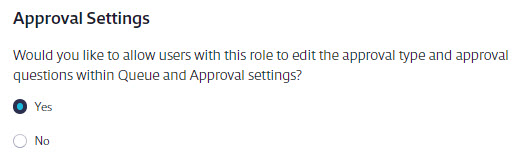
Approval Settings – Select Yes to enable users to access the Queue and Approval menu and edit approval workflows. See Chemical Approval Tools Overview for more information.
Product Summary
Product Summary Modules – This includes options for most of the product data indexing modules.
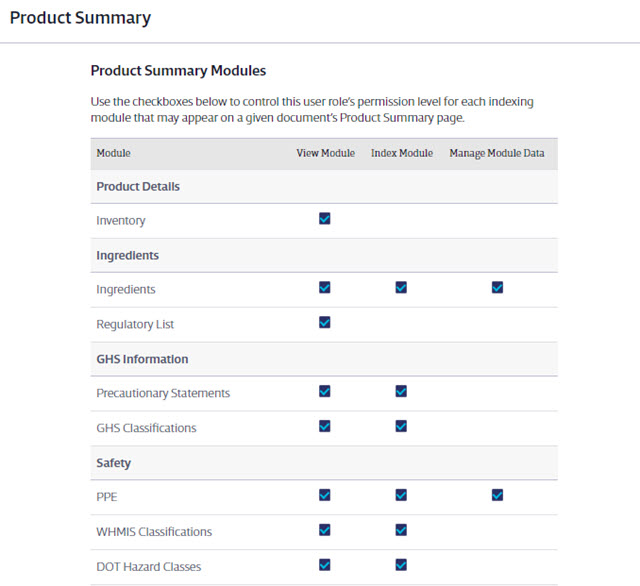
- Select View Module to enable users to see the indexing module and any data entered in it in the Product Summary. They can also include this data on labels and reports.
- Select Index Module to enable users to index data in the module on the Product Summary page. See Indexing Safety Data Sheet Information for more information.
- Select Manage Module Data to enable users to add new options when indexing. Note that not all modules have the ability to add new options.
A Product Summary Module must be enabled in Product Summary Settings to make it available for user roles to view, index, or manage. See Indexing Safety Data Sheet Information for more details on enabling indexing modules.
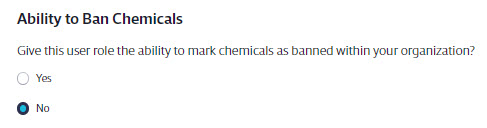
Ability to Ban Chemicals – Choose whether users can ban chemicals (also known as ingredients) in your eBinder. See Managing and Banning Chemicals using the Master Chemical List for more information.
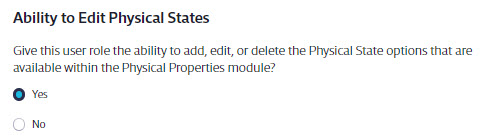
Ability to Edit Physical States – Choose whether users can add, edit, or delete options in the Physical States section of the Physical Properties indexing module. This option is disabled unless the role has Index Module rights turned on for the Physical Properties module. See Physical Properties Indexing for more information.
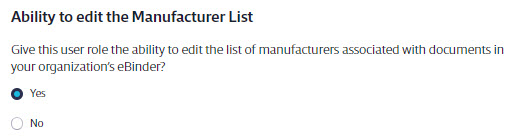
Ability to edit the Manufacturer List – Choose whether users can edit information associated with the manufacturers of products in your eBinder. See Product Summary Settings for more information. Note that the Manufacturer’s Contact Information in the indexing module must be enabled in order for this option to be available. See Indexing Safety Data Sheet Information for more information.
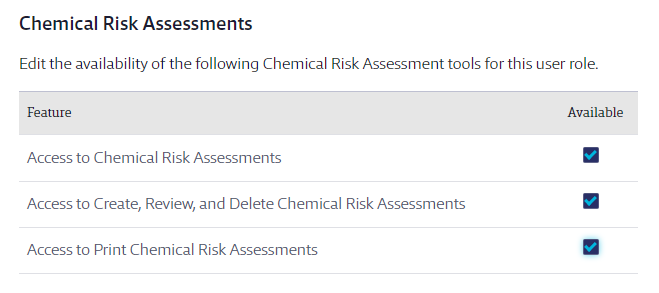
Chemical Risk Assessments (Available for SDS/Chemical Management accounts only) – Select the level of access this role has for Chemical Risk Assessments created in your account. Note that Chemical Risk Assessments must be enabled in your account for this option to be available. See Product Summary Settings for more information.
Inventory and Locations
Determine which features users assigned to this role can access with regard to creating and managing Locations. Note that, to be able to access these features, the user must have View Module selected for Inventory in the Product Summary Modules section of Manage Roles.
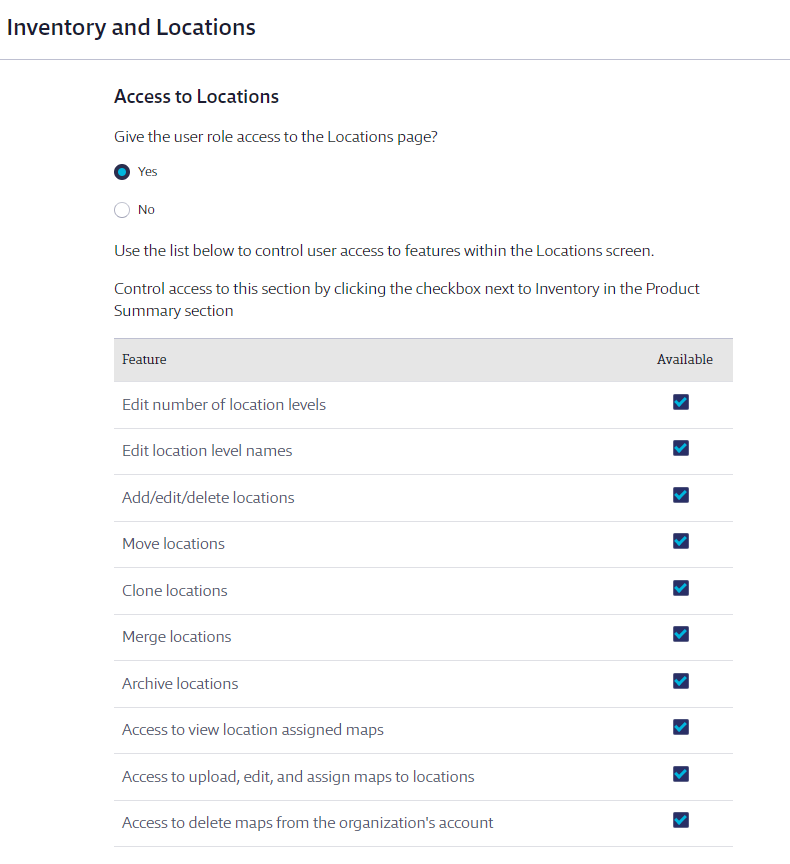
- Select Yes for Give the user role access to Locations page? to enable users to access the Locations page in the global navigation menu.
- Select Edit number of location levels to enable users to adjust the number of available location levels in the account. See Managing Locations for more information.
- Select Edit location level names to enable users to change the names of location levels. See Managing Locations for more information.
- Select Add/edit/delete locations to enable users to add new locations and edit existing locations.
- Select Move locations to enable users to move locations within the location tree.
- Select Clone locations to enable users to clone an existing location.
- Select Archive locations to enable users to archive locations that are no longer in use.
- Select Access to view location assigned maps to enable users to see maps that have been uploaded and assigned to locations.
- Select Access to upload, edit, and assign maps to locations to enable users to add or manage maps in the account. See Adding and Using Maps for more information.
- Select Access to delete maps from the organization’s account to enable users to delete maps from your account.
Containers
Determine how users with this role can interact with containers.
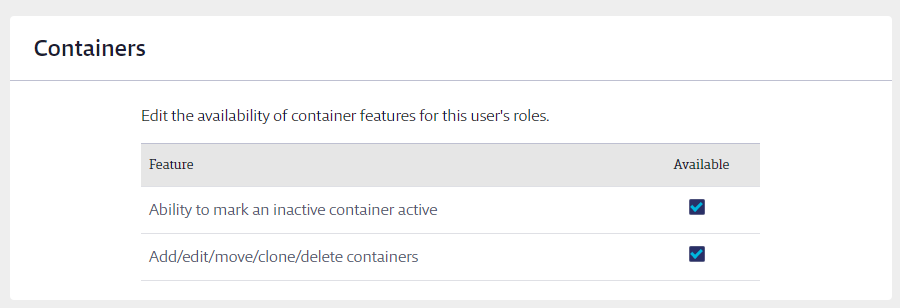
- Select Ability to mark an inactive container active to enable users to change an Inactive container back to Active. See What are the different container statuses? for more information on the difference between Inactive and Active.
- Select Add/edit/move/clone/delete containers to enable users to create a new container and make adjustments, including tracking quantity or changing the status, for existing containers. See Creating and Managing Containers for more information.
