

Creating and Managing Reporting Groups
Before you can create Reporting Groups you need to create locations. See Creating Locations for more information.
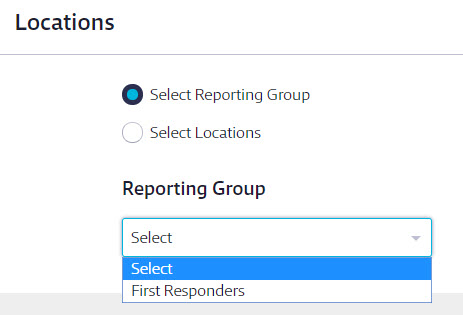
The Reporting Groups feature allows you to create groups of locations that can be used when generating reports, creating your Tier II report submission, or sharing your eBinder with first responders. If you need to regularly run reports for the same group of locations, creating a Reporting Group of those locations can save you time. This allows you to select the Reporting Group from a drop-down menu instead of manually selecting each location.
Creating a Reporting Group
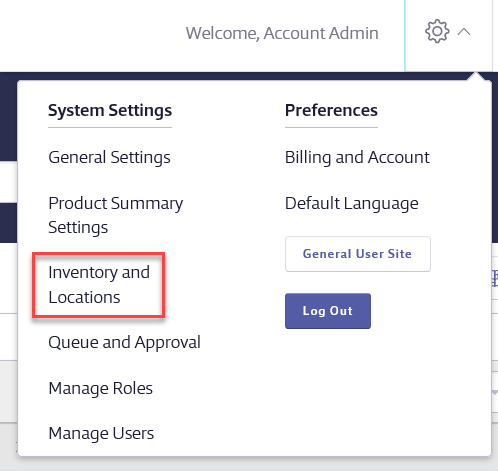
To create Reporting Groups, select Settings in the upper right-hand corner and then click on Inventory and Locations.
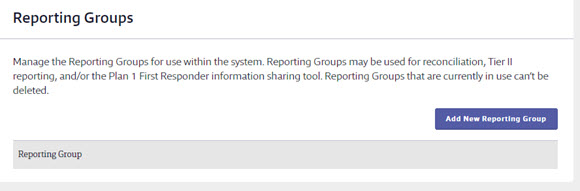
Scroll down to the Reporting Groups section and click on the Add New Reporting Group button.
Adding Reporting Group Details
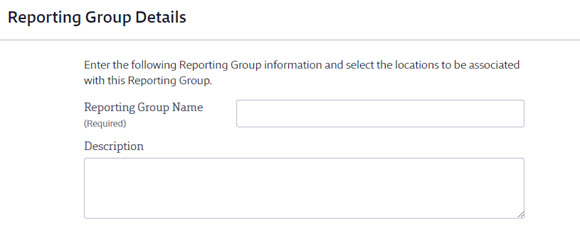
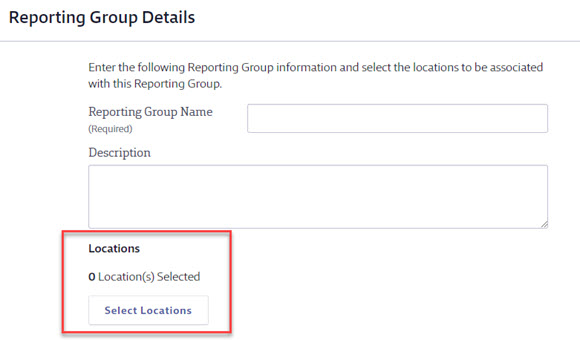
Enter a Reporting Group Name and optional Description.
Click on the Select Locations button.
In the Locations modal, select the locations that need to be included in this Reporting Group and then click Assign.
If you are not planning to use your Reporting Group for Tier II reporting then the rest of the fields on this page are optional. Select Save Changes to create the Reporting Group.
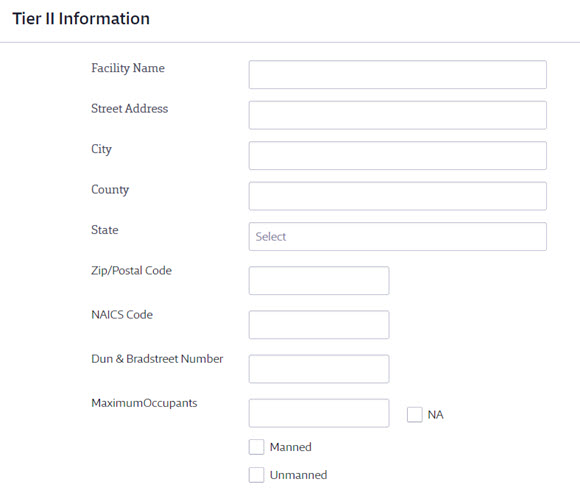
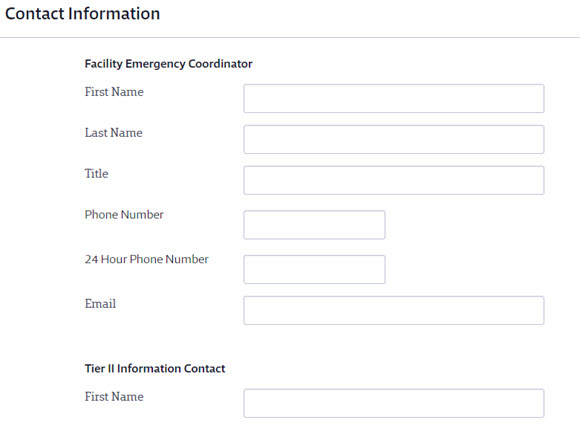
Adding Tier II and Contact Information
If you are planning to use your Reporting Group for Tier II reporting, the rest of the fields on this page correspond to fields that are required on the Tier II report. Once you’ve completed them, click Save Changes.
Editing Reporting Groups
To edit Reporting Groups you’ve created, select the Settings menu in the upper right-hand corner of your account and click on Inventory and Locations.
Scroll to the Reporting Groups section and click on Edit next to the Reporting Group you need to adjust.
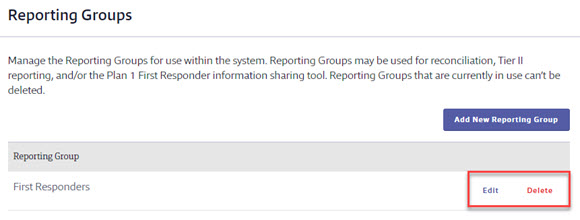
Make the necessary edits on the Edit Reporting Group screen and click Save Changes.
