

Product Reconciliation
Product Reconciliation is available for SDS Management and Chemical Management accounts only.
The Product Reconciliation feature can be used even if you have not created containers in your account. Product Reconciliations are:
- A way to ensure that all the hazardous products being used at a specific location have an associated safety data sheet in your Chemical Management eBinder
- A list of all the products currently assigned to a location or locations in your account. You can then compare this list to the physical products and verify each one has a safety data sheet in the eBinder.
- A history of each “audit” as well as who completed it.
Account Administrators, Administrators, and Managers can use the Product Reconciliation feature.
Creating a New Product Reconciliation
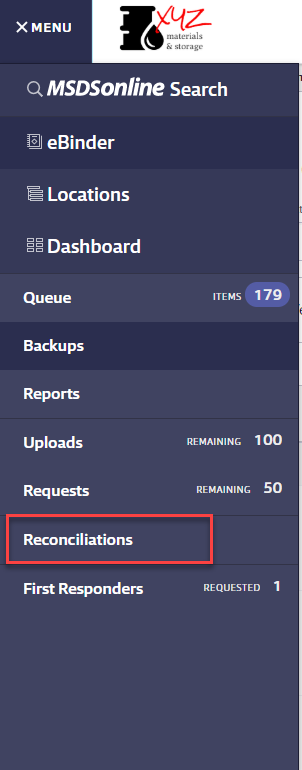
Click on the Global Navigation Menu in the upper left-hand corner of your account and then click on Reconciliations.
Click on the Create New button.

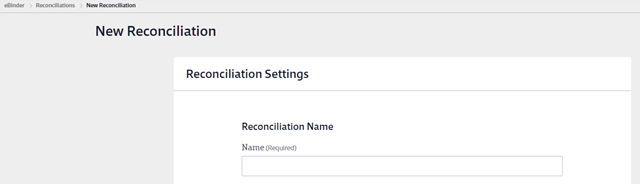
In the Reconciliation Name field, enter a name for the reconciliation worksheet. VelocityEHS recommends you enter a name that will make the worksheet easy to find on the Reconciliations page in the future.
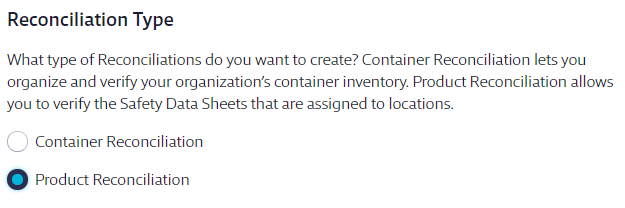
Next, select the radio button for Product Reconciliation in the Reconciliation Type section.
Enter the Start Date and End Date. All safety data sheets that are/were assigned to the selected locations during this date range will be included on the worksheet. This does not mean the date it was added, but solely that it was assigned to the location. For example, a product could be added and assigned to a location in January 2018, but if it’s still assigned to a location in 2019 a reconciliation between January 2018 and the End Date you selected would pull the product in since it was assigned in that time frame.

If you have created reporting groups, you can choose Select by Reporting Group which allows you to select a reporting group from the Reporting Groups drop-down menu. If you have not created reporting groups this option will be grayed out. See Creating Reporting Groups for more information.
Selecting Locations lets you choose specific locations for your reconciliation. This option also allows you to save the locations you’ve selected as a reporting group.
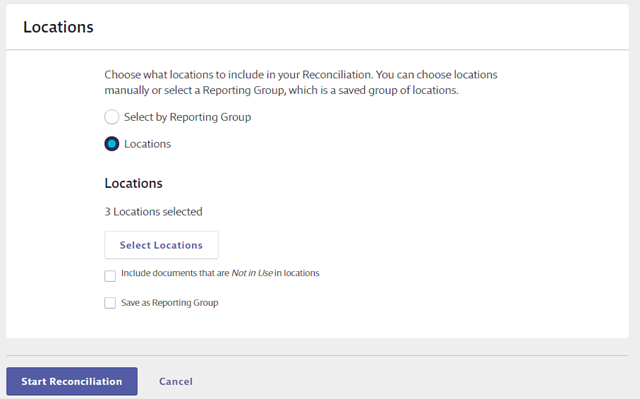
By default, the product reconciliation will only include products that are In Use in the selected locations. If you want to include products marked as Not In Use, check the box for Include documents that are Not In Use in locations.
Click Start Reconciliation to generate the worksheet.
Product Reconciliation Worksheet
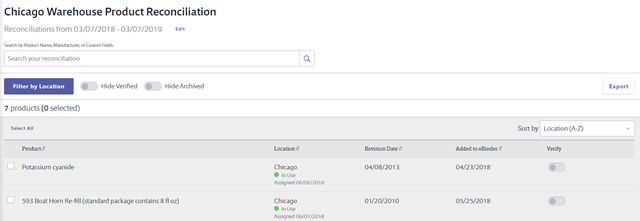
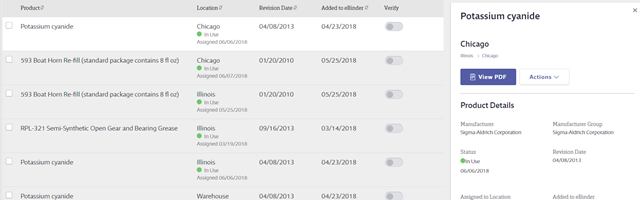
After you click Start Reconciliation, the reconciliation worksheet will load and display all the products assigned to the location(s) you selected, along with the date it was assigned to the location, its status in the location, the revision date for the SDS and the date it was added to the eBinder.
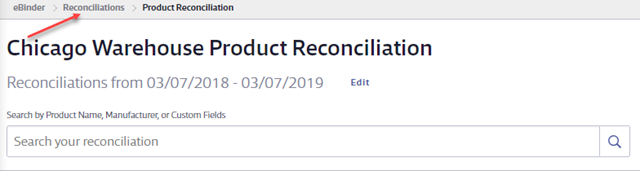
If you need to update the name of your reconciliation or the end date, click Edit next to the dates. This allows you to update an In Progress reconciliation to pull in the most up-to-date product information for the location(s) you selected without needing to start another reconciliation.
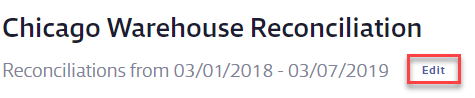
Note that editing reconciliation dates after you’ve verified any products will reset all verified products to unverified.

To locate a specific product on the worksheet, use the Search bar to search by the Product Name, Manufacturer, or Custom Fields.

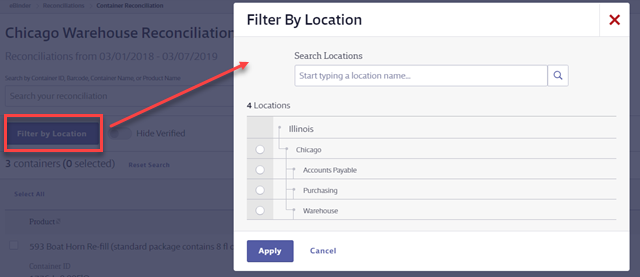
If your reconciliation worksheet covers multiple locations, you can filter it to show just a single location by using the Filter by Location button.
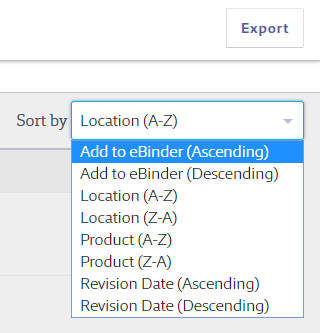
You can also use the Sort by drop-down menu to sort the products.
The reconciliation feature is designed so that you can use it on a laptop or tablet while walking through your facility and verifying that the products listed on the worksheet match your physical inventory in real-time. If you prefer, you can export the worksheet to a spreadsheet using the Export button.
To view or edit information about a specific product, click on the product row to open the summary panel.
Editing or Updating Product Information
If you determine that a product listed as In Use on your worksheet is no longer in use at that location, use the Actions menu in the summary panel to mark the product Not In Use. The same applies if you had included Not In Use products that you need to change to In Use.
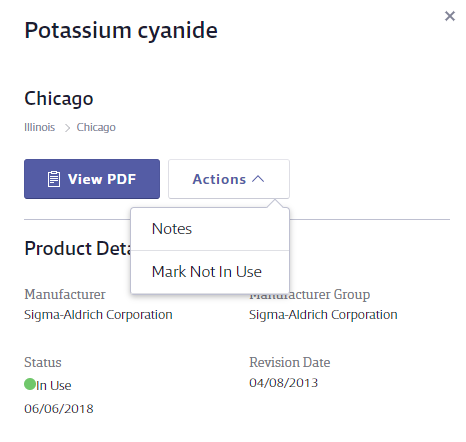
You can also use the Notes option to add notes about this product to the reconciliation. This is helpful for adding additional details about changes you made while performing the reconciliation.
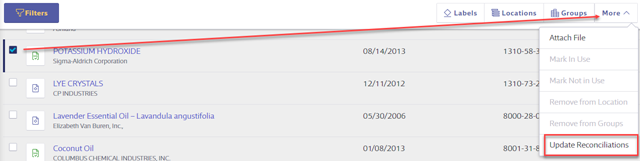
If you notice that there is a product in the location that is not listed on the worksheet, return to your eBinder to assign the product to the location. See Assigning Products to Locations for more information. Once the product is assigned, click the checkbox next to the product in the eBinder.
From the More menu, select Update Reconciliations.
In the Update Reconciliation modal, select the reconciliation you need to update and click the Update button.
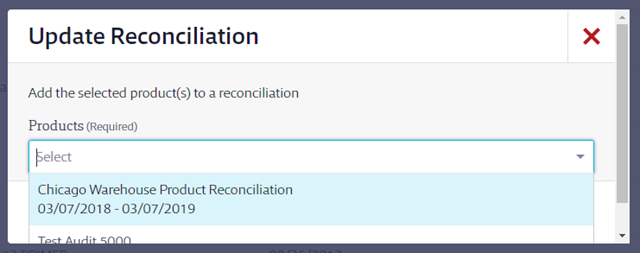
Your reconciliation worksheet will now include the product(s) you added to the selected locations.
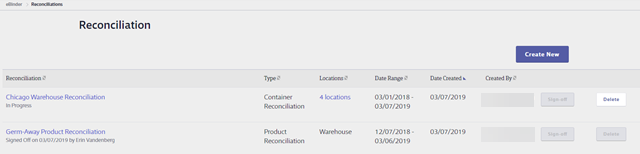
Accessing an In Progress or Completed Reconciliation
To access an In Progress or Completed reconciliation, click on the Global Navigation Menu and then on Reconciliations.
Click on the reconciliation name to return to the worksheet. Note that reconciliations that have been signed-off on cannot be edited or deleted but can still be viewed and exported.
Verifying and Signing-Off
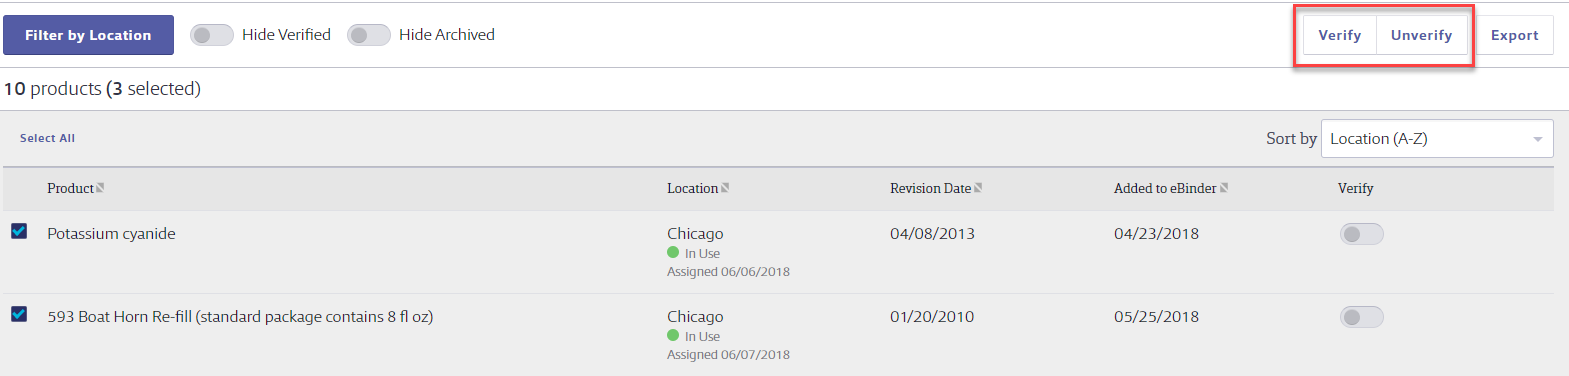
Once you’ve determined that the product listed on the reconciliation matches the physical product in the location, click the Verify toggle to indicate you’ve confirmed the match.

To hide products that you’ve already verified, click the Hide Verified toggle.

To verify or unverify multiple products simultaneously, use the checkboxes to select multiple products. Then use the options at the top right-hand corner of the worksheet.
Once all products are verified, use the breadcrumbs at the top of the page to return to the Reconciliations page.
Reconciliations, where all products have been verified, will say Completed beneath the reconciliation name.
On the Reconciliation page, click the Sign-off button to finalize the reconciliation. At this point, it can no longer be edited or deleted.

Administrators and Managers can only sign-off on reconciliations that they created. Account Administrators can sign-off on any reconciliation.
