Adding and Using Maps
The Maps feature is only available for SDS Management and Chemical Management accounts.
The Maps feature is designed for you to visually represent where containers are located in your facilities. In order to fully utilize the Maps feature of your account you should first create locations and containers. See Creating Locations and Creating and Managing Containers for more information.
Adding maps to your account
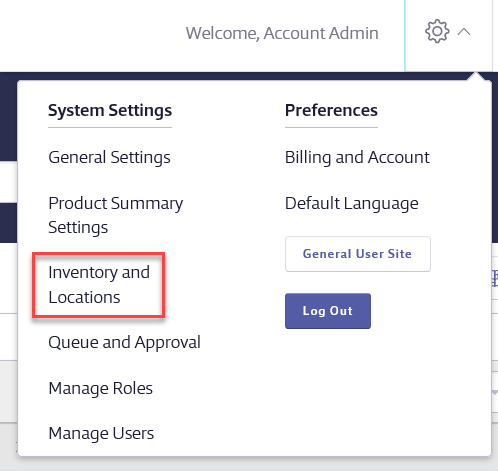
Account Administrators, Administrators, and Managers can add maps in their account. To add a map, select Settings > Inventory and Locations.
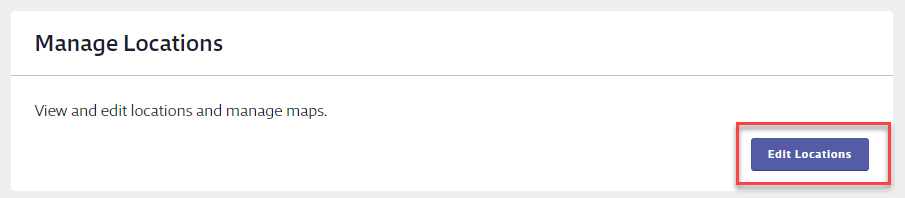
In Inventory and Locations, select Edit Locations in the Manage Locations section.
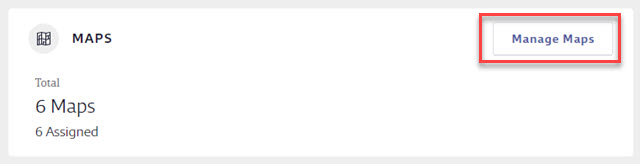
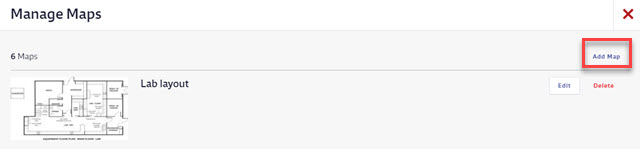
On the Locations page, locate the Maps section at the bottom right. Click Manage Maps.
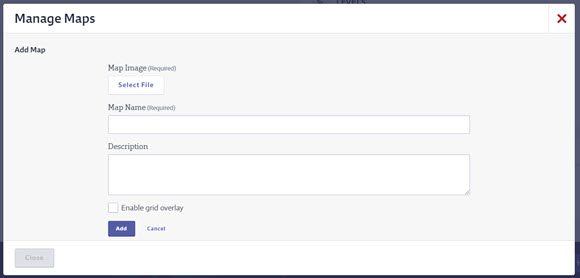
Click Add a Map.
Click Select File to choose the map image saved on your computer. Images must be .GIF, .JPG, .PNG, and 10.0 MB or smaller. By default, the file name will appear as the map name but you can edit it if necessary.
Enter a Description of the map (optional).
If you want the map to have a grid overlay, select Enable grid overlay to help you align and position containers precisely. If your map image already has a grid on it, leave this box unchecked.
Click Add.
To add another map, click Add Map. You can also edit or delete existing maps. Note that, once you assign a map to a location, the map cannot be deleted unless you unassign it first.
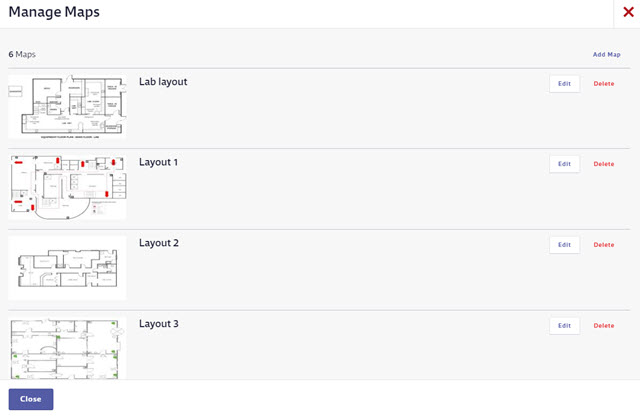
You can add as many maps as you need to cover all of the locations you’ve created. Consider uploading all of your maps first, and then assigning them to your locations.
Assigning a map to a location
Select Settings > Inventory and Locations > Edit Locations.
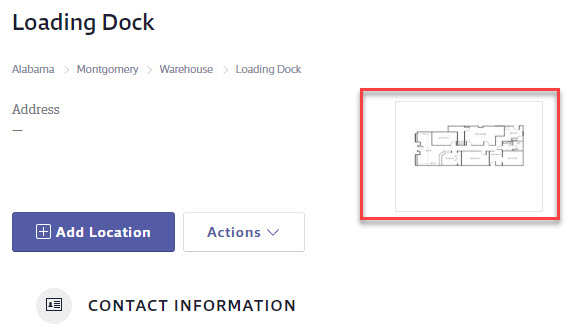
On the Locations page, select the location row for the location to which you want to assign a map.
In the summary panel, select Assign a Map.
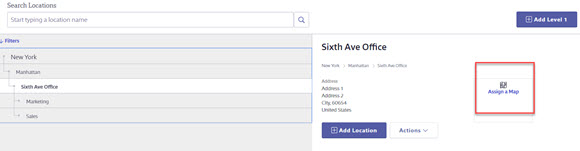
Select the map you want to assign to this location and click Assign.
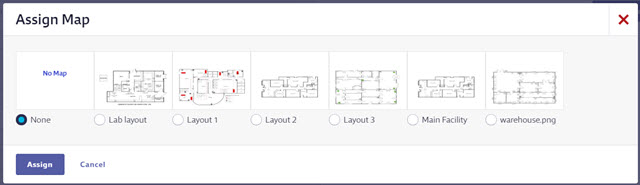
If you need to unassign the map, click the Actions menu in the summary panel, select Assign a Map > None > Assign Map.
Adding Containers to maps
Once you’ve assigned a map to a location, return to the eBinder and locate the product for which you want to map the containers. Select the Product Name to go to the Product Summary.
In the Product Summary, select View Product Inventory.
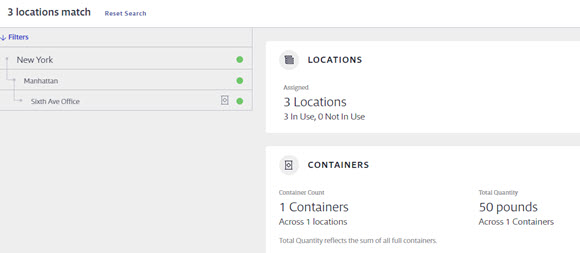
Select the location row that has both the map and containers.
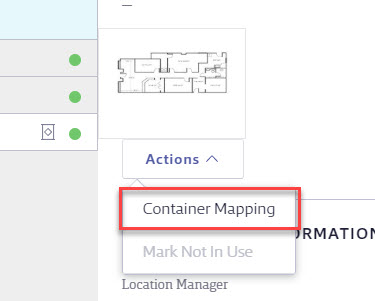
In the summary panel, select Actions > Container Mapping.
Drag the container name in the Unmapped Containers section to the area on the map where you want to place it.
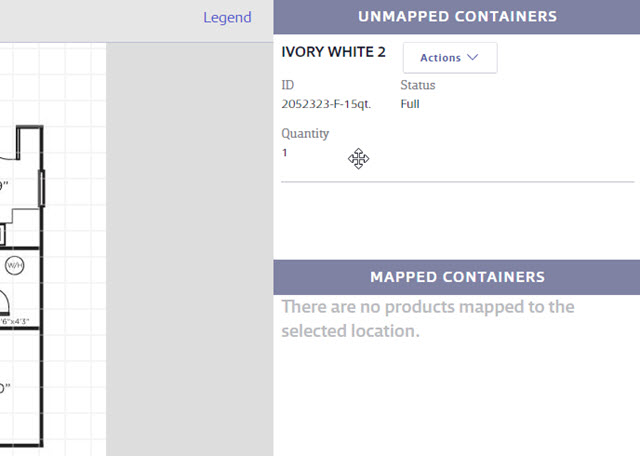
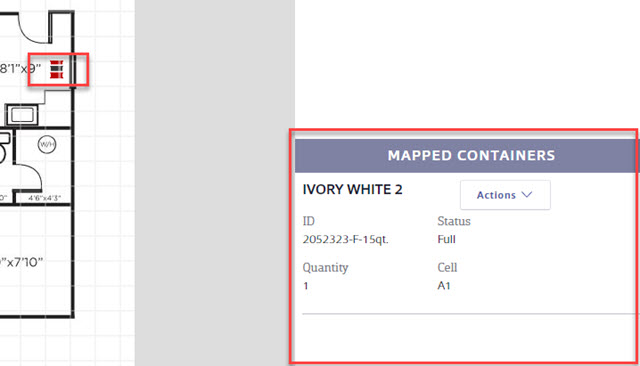
The Container icon will now appear on the map and the container will be listed in the Mapped Containers section.
To remove a container from the map, select the Container icon and click Remove. Or, select Actions in the Mapped Containers section and select Remove.

Viewing Mapped Containers
Mapped containers for a single product at a single location
To view and edit mapped containers at a specific location for a specific product, locate the product in the eBinder and navigate to the Product Summary.
Select View Product Inventory and then select the location row that has both the map and containers.
Click on the map in the summary panel or click on the Actions menu and select Container Mapping.
Mapped containers for multiple products at single location
The Maps button in the eBinder provides a read-only view of all mapped containers at a single location.

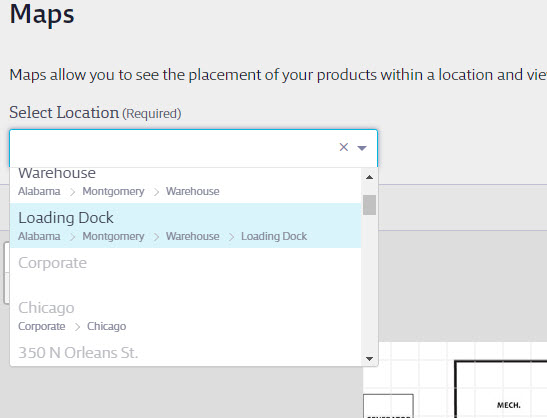
On the Maps page, use the Select Location drop-down menu to select the location whose map you wish to see.
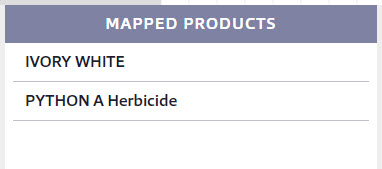
On the map, click on the container icon to see details about a specific container.
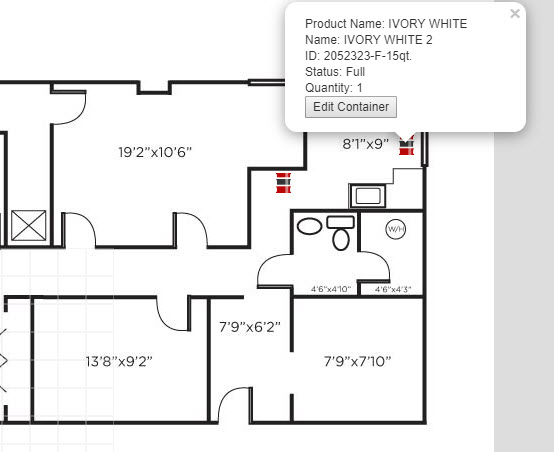
All mapped containers will also be listed in the Mapped Containers section beneath the map.