

Creating Locations
Information in this article applies to SDS and SDS/Chemical Management accounts only.
If your company stores and uses products in multiple cities, buildings, or rooms you may want to create Locations in your account. There are several reasons why you may want to set up Locations. Using locations allows you:
- The ability to filter your eBinder to see which products are being used at a specific location
- The ability to assign users to view and manage documents and information only at specific locations
- The ability to do more detailed chemical inventory tracking and reporting
Locations can be organized in a variety of ways, similar to a folder structure on your
computer. VelocityEHS recommends creating no more than 4 or 5 location levels, but your account allows you to create up to 10. Most VelocityEHS customers find that 5 levels work best for them, which is why we’ve set that as the default.
VelocityEHS recommends the following best practices when creating locations:
- Be consistent in how levels are used.
- Identify physical locations, not groups of products.
- Make sure your location trees match any workflows that you may use to approve safety data sheets.
- Less is more! Keep your locations as simple as possible for easy maintenance.
- Remember that safety data sheets assigned to a lower level location will automatically be assigned to the locations above it in the location tree. For more information on assigning safety data sheets to locations see Assigning Products to Locations.
Setting Default Location Levels
The following instructions apply to SDS and SDS/Chemical Management accounts only.
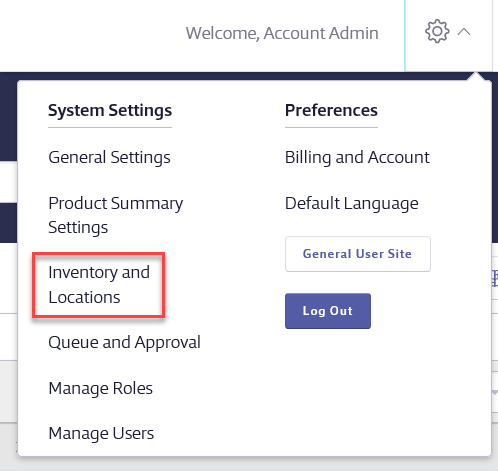
To set up your locations, click on System Settings in the upper right-hand corner of the eBinder and then choose Inventory and Locations.
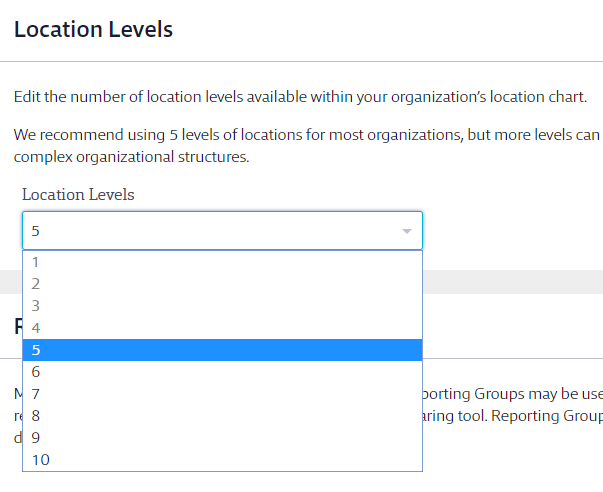
If you want to change the number of location levels from the default of 5, you can do so in the Location Levels section using the Location Levels drop-down menu. VelocityEHS recommends that you decide how many location levels you want to use before you begin creating locations.
You are not required to create a location at every level, but once you do create a location at that level you cannot change your number of location levels to a smaller number.
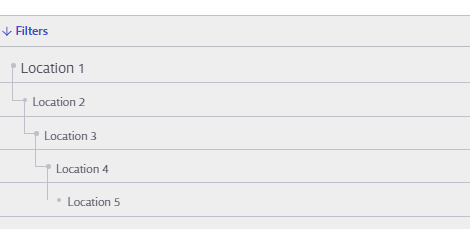
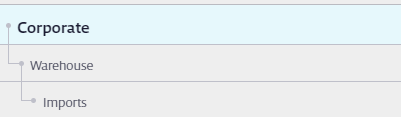
 For example, in the structure below you could not select less than 5 location levels because there are currently 5 location levels being used.
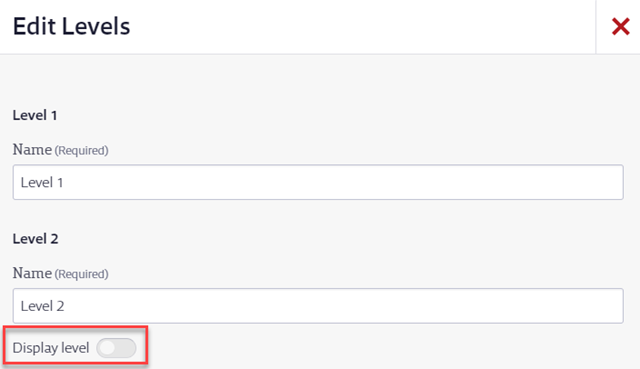
Once you’ve selected your default number of location levels, click on Edit Locations and then on Edit Levels.

Click the Display Level toggle to turn the level(s) on.
Adding New Locations
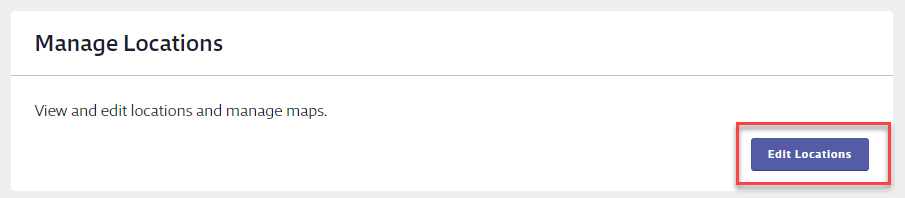
Once you’ve determined how many location levels you wish to use based on the information above, click on Edit Locations in the Manage Locations section.
New accounts have one default level 1 location created called Corporate. To change the name or delete this location, click on the Corporate line. In the summary panel, click Actions. Choose Edit to update the location name. Choose Delete to remove the location entirely.
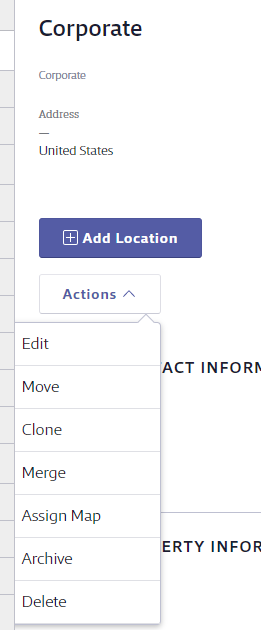
To create a level 2 sub-location, click on the level 1 location line and then choose Add Location in the summary panel.

In the Add Location modal you are required to enter a Location Name. You can then choose whether to show this location to General Users. If you choose to hide this location from the General User site, General Users will still be able to see documents assigned to this location but they won’t have access to any location information.
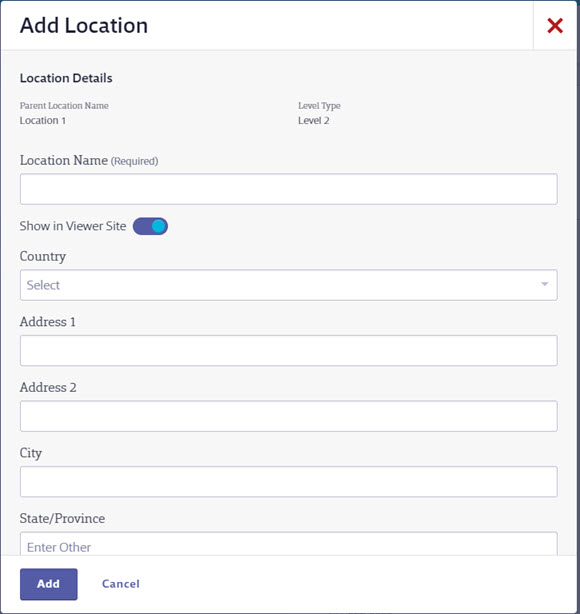
The rest of the fields in the Add Location modal are optional. Information you enter here will be visible both on this screen and in the Product Inventory screen accessible from the Product Summary.
Once you’ve completed the fields, click Add. The location will now appear as a level 2 sub-location.
To add a level 3 sub-location, click on the level 2 line and then click Add Location. Repeat this process to create subsequent sub-locations.
You can also hover your cursor over a location line to bring up the Add Location link without the need to open the summary panel.

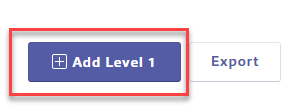
To create a new level 1 location, click the Add Level 1 button in the upper right-hand corner.
For more information on managing locations once they’ve been created, see Managing Locations.
