

Creating and Managing Product Groups
The Product Groups feature allows you to create additional ways to organize the products in your eBinder. Think of groups as a way to categorize your chemicals instead of or in addition to assigning them to locations. For example, you can create groups for your cleaning products or paints. You can then filter your eBinder by Product Groups or run reports by Product Group.
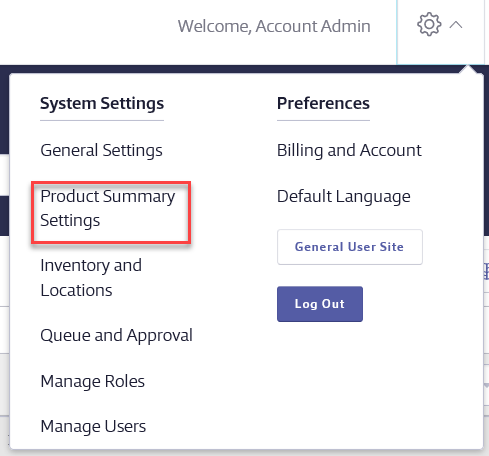
Before you can assign products to a group, you first need to create at least one Product Group. From the Settings menu in the upper right-hand corner, select Product Summary Settings.
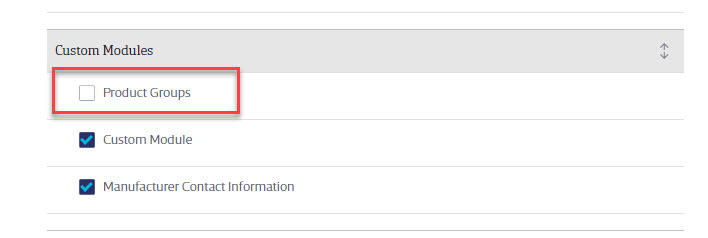
In Product Summary settings, scroll down to the Product Summary Modules section and select the checkbox for Product Groups.
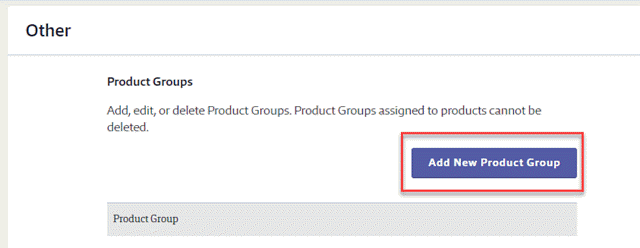
Next, click on Other in the header jump menu.

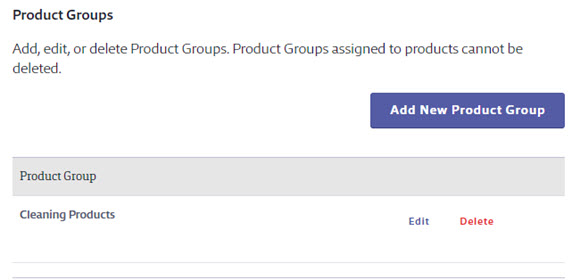
Click Add New Product Group to start the process.
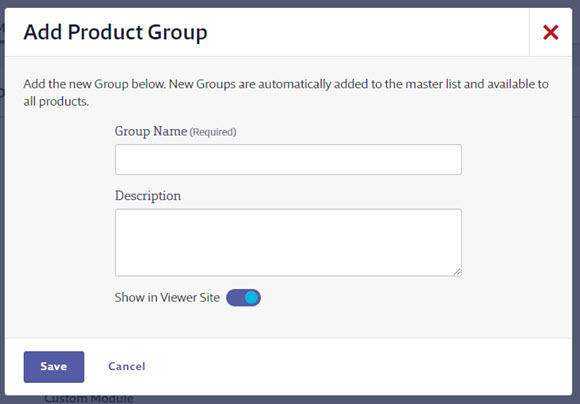
Enter a Group Name and, if desired, a description. For example, you may want to group all of your cleaning products together. In this example, you would enter Cleaning Products as the Group Name and a description of what types of products should be assigned to this group in the Description field. If you only want Account Administrators, Administrators, and Managers to be able to see this group, use the toggle switch to turn off Show in General User Site. Note: this is only applicable for SDS and SDS/Chemical Management accounts.
Click Save.
To edit the name, description or to turn on or off the ability for General Users to see this group, click Edit. To delete the group, click Delete. Note that only groups that do not have any products assigned to them can be deleted.
Once you’ve created at least one Product Group you can start assigning products to groups. See Assigning Products to Product Groups for more information.
