

Managing Users
If you need to add new users to your account or have questions about users’ licenses or assigning users to locations, see Adding New Users.
Manage Users is only available to GM Pro, SDS Management, and SDS/Chemical Management accounts.
Once you’ve added users to your account, Account Administrators and Administrators can use the Manage Users menu to make any necessary edits, reset passwords, or export a list of all users.
Finding Users
To make edits to users in your account, select the Settings menu in the upper right-hand corner of your account and then click on Manage Users.

The Manage Users page gives you several options when looking for a particular user.
1. In the Search box at the top of the page you can type any part of the user’s first name, last name, email address, or username. If there is a match in your account the Search Suggest feature allows you to click on the matching name and go directly to that user. You can also type your search term and click the Search button.
To filter or search by users only assigned to a specific location, click the All Locations button and select a location.

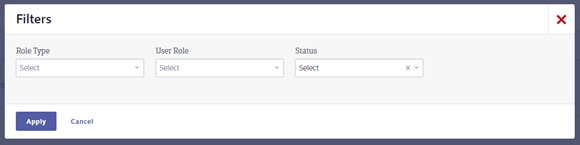
2. The Filters menu gives you the option to filter your users or your search results by Role Type, User Role, or Status.
- Role Type – the type of role the user has in the system (Account Administrator, Administrator, Manager, General User).
- User Role – if you have created new roles based on the four basic role types your custom role names will appear here. See Creating New Roles for more information. If you have not created new roles then the options in this menu will be the same as Role Type.
- Status – the user’s status in your system. This can be either Active or Inactive.
Select one or more and click Apply.
3. The Sort by drop-down menu allows you to sort your users by last name, role name, or the number of locations to which they are assigned.
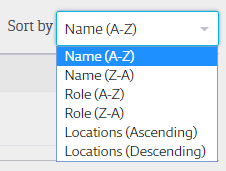
You can also sort the users by clicking on the arrows next to each of the column headers.
Editing Users
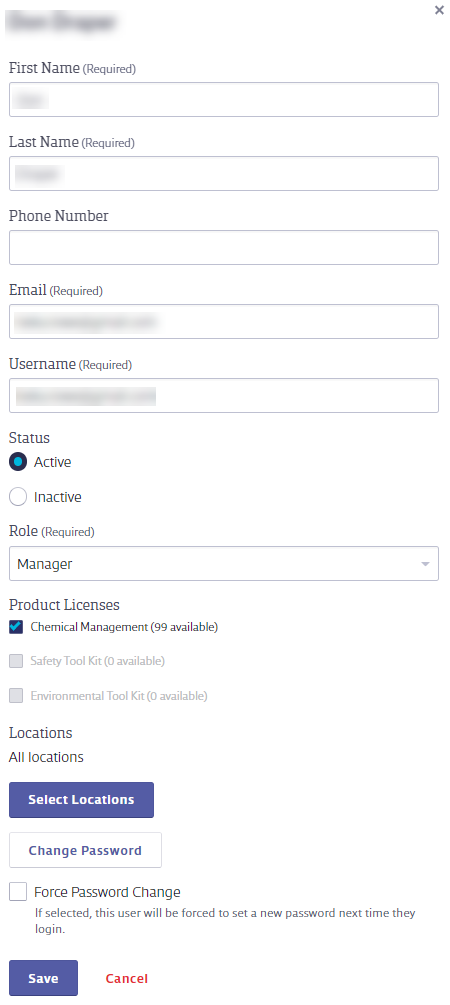
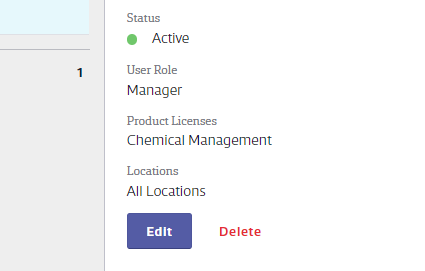
Once you’ve located the user using the steps above, click on the user row to open the summary panel. To edit user information, such as their name, phone number, email address, username, role, status, locations, or password, click the Edit button.

Make any necessary edits and click Save.
Note that the Primary Account Administrator cannot be edited in Manage Users. The Primary Account Administrator can edit their own user information on the Billing and Account page because, in addition to their role within the system, they are also the primary point of contact for VelocityEHS when it comes to billing or account maintenance. For this reason, no other users in the system may edit the Primary Account Administrator’s information. See Billing and Account for more information.
Other Account Administrators, Administrators, and Managers can edit some of their information and change their password using My Profile, located in the Settings menu. See My Profile for more information.
Deactivating or Deleting Users
If a user leaves your organization or their position no longer requires them to have a username and password for your Chemical Management account, you can choose to mark them as Inactive. To mark a user Inactive, locate the user on the Manage Users page, click on the user row, and click Edit in the summary panel. Locate the Status section in the summary panel.
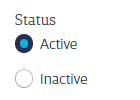
Selecting Inactive means that this user no longer occupies a user license and can no longer log in to your account. VelocityEHS recommends marking users Inactive instead of deleting them so that you can preserve a history of who had login access to your system.
If you prefer to delete users that no longer need access via a username and password, locate the user on the Manager Users page, click on the user row, and then click Delete in the summary panel.
Users cannot be deleted or marked Inactive if they are approvers in an active approval workflow. To delete or inactivate these users you must first edit the approval workflow to remove them as approvers. See Chemical Approval Tools Overview for more information.
Additionally, the Primary Account Administrator cannot be marked Inactive or deleted. If you need to change the Primary Account Administrator please contact Customer Support.
Exporting a User List
The easiest way to get a list of all of your users and the locations to which they are assigned is by using the Export feature in Manage Users.
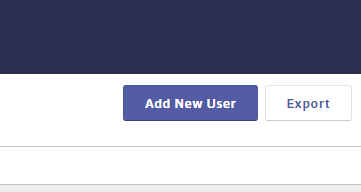
Click the Export button and then select whether you want all locations to which a user is assigned to be listed in a single cell or if you want each location listed on a separate line.
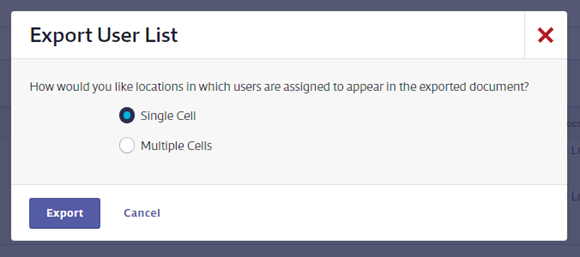
Click the Export button. Your user list will download as an Excel spreadsheet.

