

Product Summary Report
The information in this article is specific to the Product Summary Report. If you need information on reports in general see Reports Overview.
The Product Summary Report is an easy way to get a list of all the products in your eBinder or a list of all products assigned to specific locations or product groups. Generating this report is an easy way to comply with regulations that require you to keep a list of all hazardous products used in your organization.
Select Products
Selecting All Products will include all products available in the eBinder.
If you have created reporting groups, you can select Products by Reporting Group which allows you to select a reporting group from the drop-down menu. If you have not created reporting groups this option will be grayed out. See Creating Reporting Groups for more information.
Selecting Products Assigned to Location(s) lets you choose specific locations for your report. If you only need to create a report for products at a specific location or locations, use this option. This option also allows you to save the locations you’ve selected as a reporting group. This lets you quickly select the same locations each time using the Products by Reporting Group option.
Selecting Products Assigned to Product Groups allows you to include only those products assigned to a specific group. If you have not created any product groups this option will be grayed out. See Creating and Managing Product Groups for more information.
If you choose Products Assigned to Product Groups, you must decide whether to have all Product Group names appear in a single cell for each product or list each Product Group name in a separate row. The latter options means that if one product is assigned to more than one group it will appear on your report multiple times.
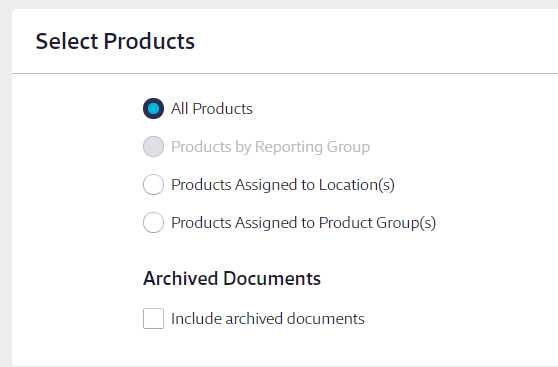
By default, your report will only include Active documents. If you want to include all Archived documents and products, select Include archived documents.
Select Report Columns
Once you’ve selected which products to include on the report, choose the data that you would like to appear in the report columns for each product.
Some columns will be required and cannot be unchecked. You can select as many additional columns as you need.
Including Archived documents causes the Status column to appear automatically in the report. This column designates whether a safety data sheet is active or archived.
Once you’ve made all of the selections for your Product Summary Report, click the Run Report button at the bottom of the page.
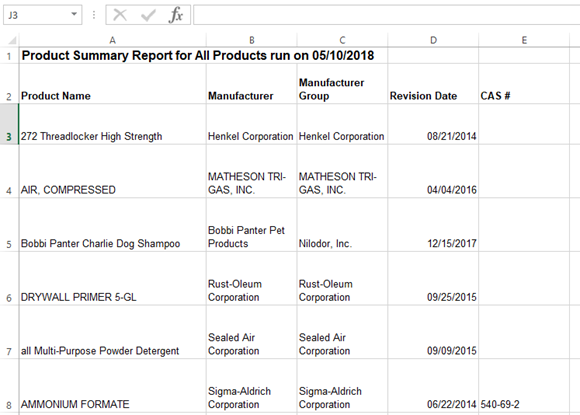
Note that if there is no indexed data for a field for a product, the cell on the spreadsheet will be blank.
