Managing Locations
If you need to create new locations, see Creating Locations. If you need to assign products to locations, see Assigning Products to Locations.
Once you’ve created locations in your Chemical Management account, there are several things you can do with them including:
- Assigning maps to locations
- Editing location name or information
- Moving locations
- Cloning locations
- Merging locations
- Archiving locations
- Exporting your location list
Accessing Inventory and Locations
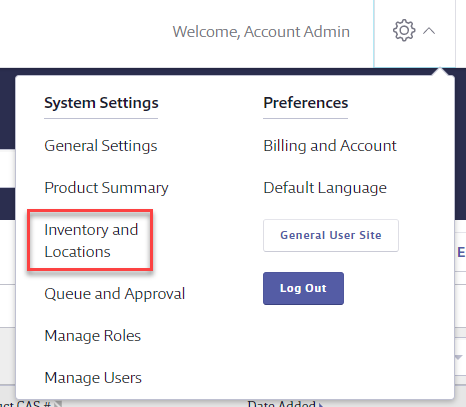
To manage or edit locations you’ve already created, choose System Settings in the upper right-hand corner of your account and then select Inventory and Locations.
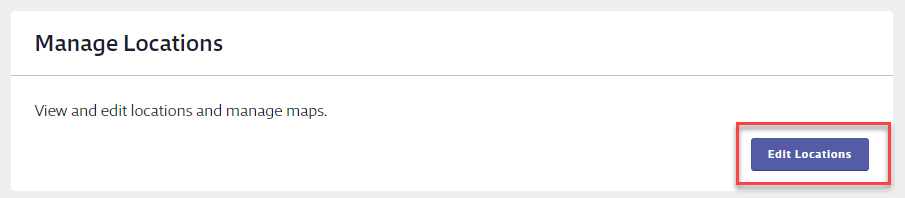
From this page, choose Edit Locations in the Manage Locations section.
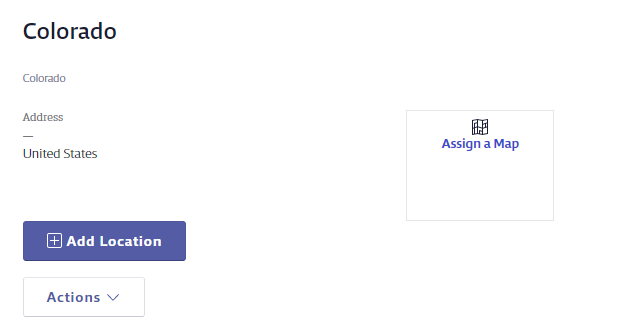
The left side of the Locations page shows you the list of all the active locations in your account. The right side shows you high-level information about your locations.
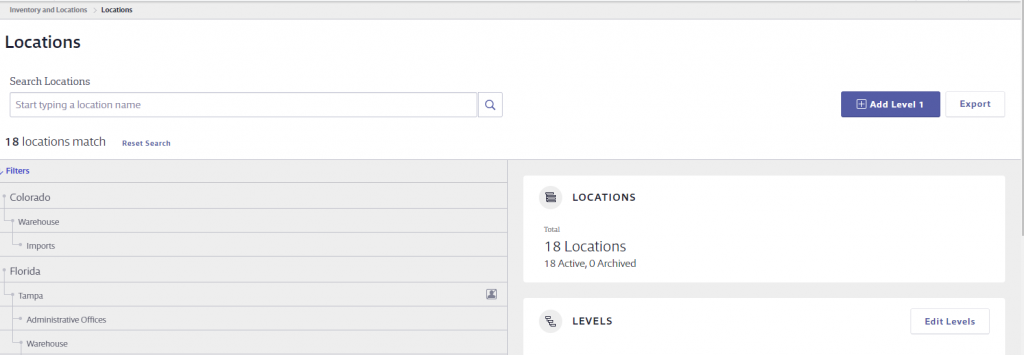
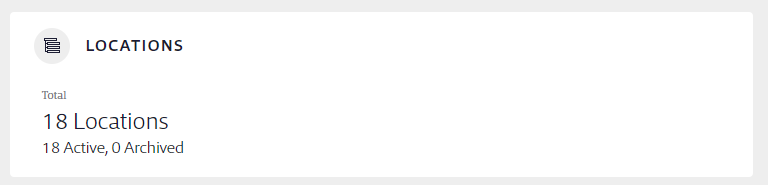
The Locations box on the right shows you the total number of locations in your account as well as how many are Active and how many are Archived.
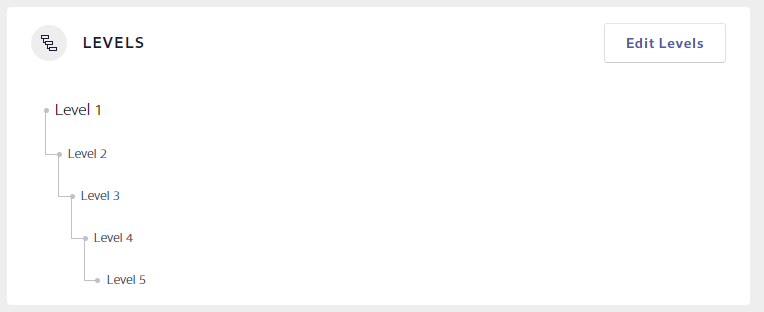
The Levels section shows you how many location levels you have available and also lets you rename them using the Edit Levels button. For instance, if all of your Level 1 locations are the names of cities, you could rename Level 1 to say “City”. Additionally, you can choose not to display a level by using the Display level toggle button if you have not created any locations at that level.
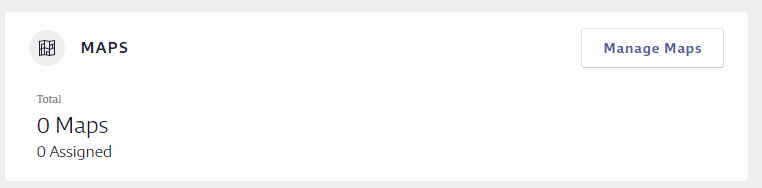
The Maps section shows you how many site maps you’ve added and how many are assigned to locations. To add a new map, click Manage Maps > Add Map. Maps are primarily used for visualizing where containers of your products are in a specific location. For more information on Maps see Adding and Using Maps.
Note: Maps are available only for SDS and SDS/Chemical Management accounts.
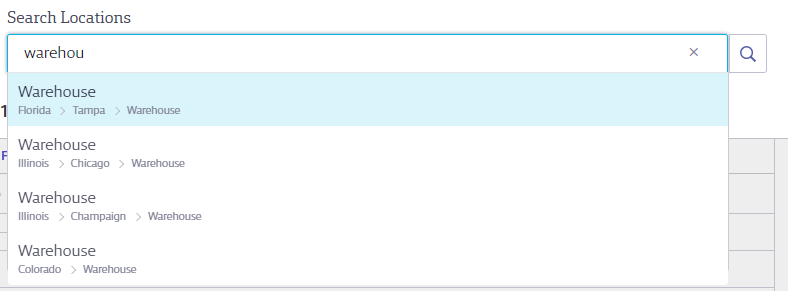
To edit or manage a specific location, find the location in the tree and click on the location’s line. If you have many locations, you can use the Search Locations bar to locate it. The search will suggest location names as you type. You can click on the suggested name to jump directly to the location in the location tree.
Assigning Maps and Editing Locations
Once you’ve found the correct location, click the location’s line to open the slide-out menu. To assign a map to the location, click on the Assign a Map button.
Note: Maps are available only for SDS and SDS/Chemical Management accounts.
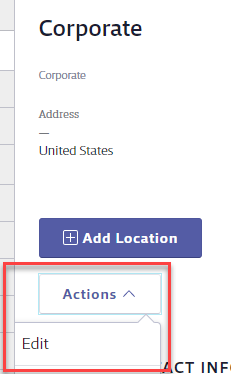
To edit the location name or any additional information about the location, click Actions > Edit.
Moving Locations
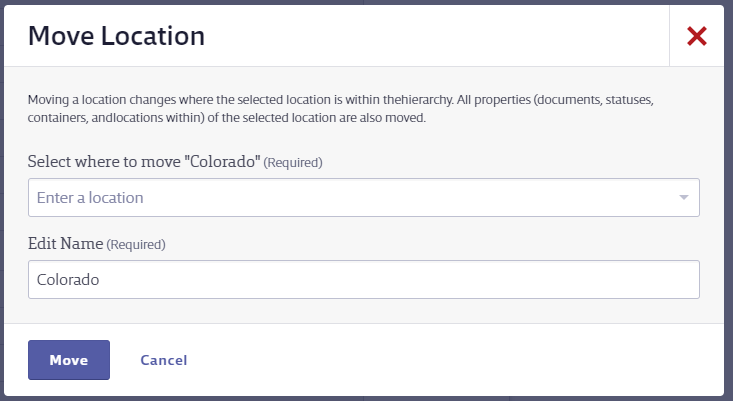
If you need to move a location from one spot in the location tree to another, select Move from the Actions menu. You can move a location to a higher level, laterally move it under a different parent location, or move it down to a lower level. Because moving a location moves its sub-locations along with it, the new location tree cannot exceed the number of location levels you’ve set in your account.
You must first select where in the location tree you want to move the location. Click the Move button to move the location, its sub-locations, documents and their statuses, and containers.
Cloning Locations
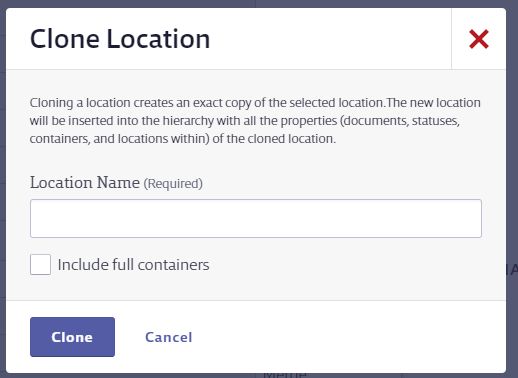
If you have several locations that have identical structures and use the same documents, you can create the first location and then use the Clone option in the Actions menu to duplicate it. Name your cloned location, choose whether to also clone any full containers, and then click Clone. Your new location will be inserted into the location tree with all the properties (documents, statuses, containers) of the cloned location. You can then use the Move function to move the location if necessary.
Merging Locations
If you have two locations that need to be merged into one, you can merge them together.
Note: This action cannot be undone.
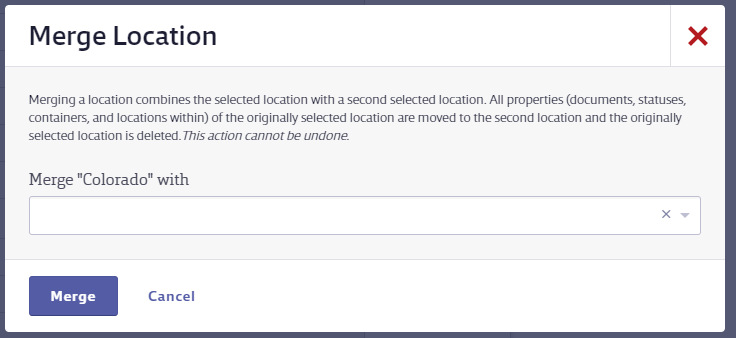
To merge locations, select Merge in the Actions menu for the location you would like to merge with another one. This location is referred to as the source location. This will merge the location selected and all sub-locations.
Then select the target location into which you want to merge the source location. All properties (documents, statuses, containers) within the source location will move into the target location. The location selected as the source will be deleted.
When attempting to merge locations in Chemical Management, you may find that the Merge option is disabled. The system prevents merging if there are Managers currently assigned to a location involved in the merge. This ensures role and permission integrity during location changes.
To enable the Merge option:
- Go to Manage Users for the location you want to merge.
- Identify any Managers assigned to this location.
- Unassign the location from the necessary Managers.
- Return to the Merge Locations section. The Merge option should now be available.
Archiving Locations
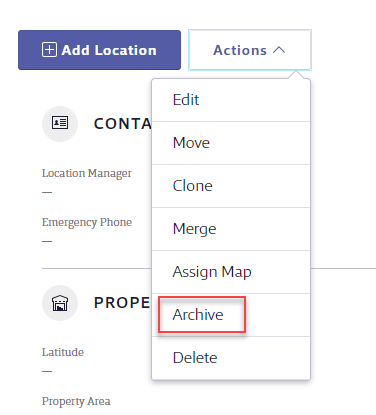
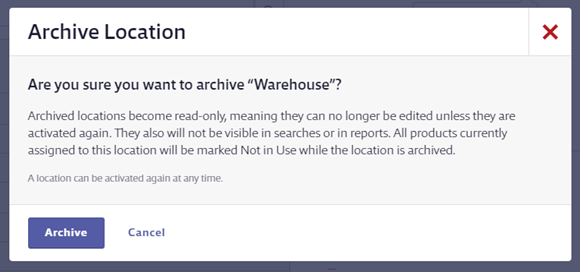
If you have a location that closed, has been sold, or is otherwise no longer an active part of your organization, you can choose to Archive it using the Actions menu. This will also archive any sub-locations.
Archived locations will no longer appear as an option when selecting locations, nor will they appear in any reports. Safety data sheets assigned to archived locations will be marked as Not in Use at that location.
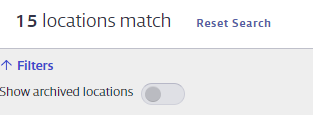
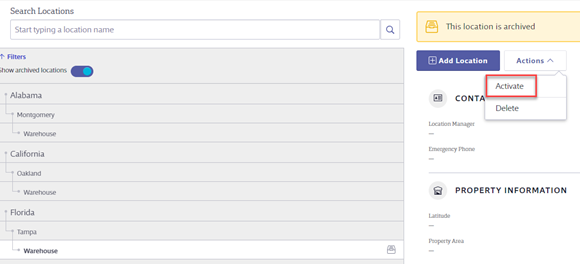
To re-activate an archived location, click the Filters arrow above the location tree and enable Show archived locations. Find the location, click on the line, and then choose Actions > Activate.
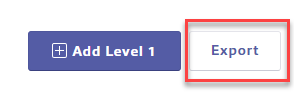
Exporting Your Location List
The Export button allows you to generate and download your location list in spreadsheet format. This includes the names of each of your locations, the number of documents assigned to each location, whether General Users can see the location, and the Managers assigned to each location. Note that any archived locations will not be included in the exported spreadsheet.