Creating a new label template
Creating new label templates options are only available to GM Pro, SDS Management and Chemical Management accounts
For general information on accessing the Print Labels feature, see Printing Labels Overview.
The Create New Label function on the Print Labels page gives Account Administrators and Administrators the ability to create a standard label template for use in your organization. For example, if you need your secondary container labels to always be the same size and include specific fields, you can create a label template to match those specifications and instruct your users to use that label template. You can create up to 8 custom label templates.
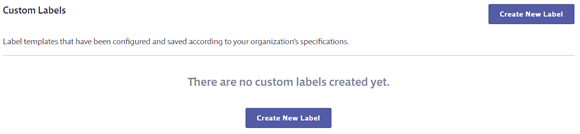
To create a new label template, go to the Print Labels page for any product in your eBinder. Then click Create New Label.
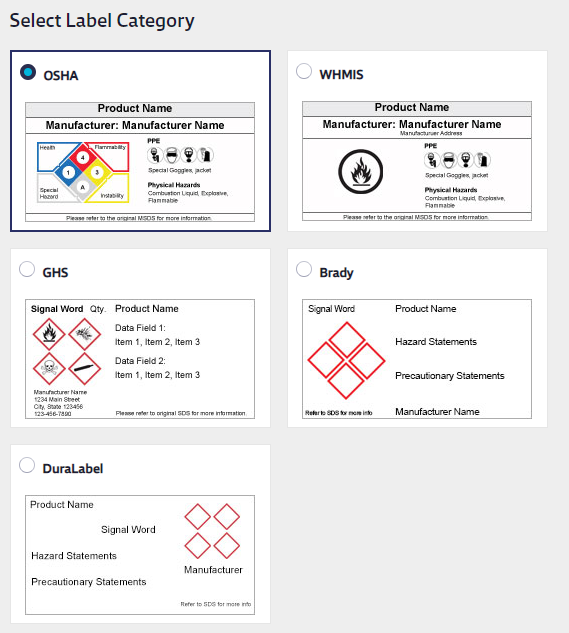
Select a base template from the Label Category section. The base template you select determines which pictograms and data fields can be included on your custom template. Your options include:
- OSHA
- GHS
- Brady
- DuraLabel
- WHIMS
Note that in order to see certain label templates and data field options the corresponding product data indexing modules must be enabled in Product Summary settings and the user must have at least View access to those modules.
Additionally, the original label template must be enabled in General Settings for users to see any labels created based on that template.
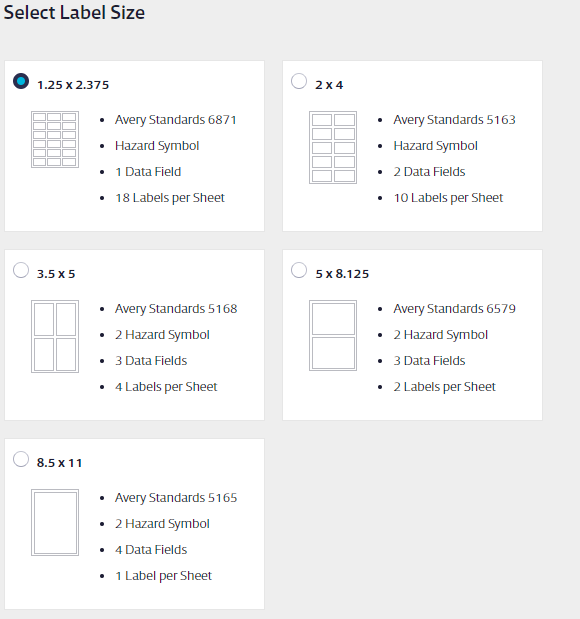
Once you’ve selected your base label template, select your label size. The type and size of label determines how many symbols and data fields can be included.
Next, depending on which base label template you chose, you can select specific data fields.

Add a name for the label template and, optionally, a description or instructions on when or how to use the label template. If you do not want your General Users to have access to this label template, click the Show in General User Site toggle switch to turn it off for them.

Click Create to save the label template.
This label template is now available on the Print Labels page for every product in your eBinder.
When a user clicks the Generate button, they will need to select the following:
- How many labels they want to print
- The font size
- The language (note: this will only translate data field names, signal words, and unedited precautionary statements and GHS classification hazard descriptions)
- Where on the page they want the label(s) to start printing
Users will not need to select a label size, pictograms or data fields since those were chosen when the template was created.

Once the user makes these selections, they click Generate to create a PDF file of the label(s). Use the print options in your PDF reader software to print the label. For best results, set your print options to print at actual size.
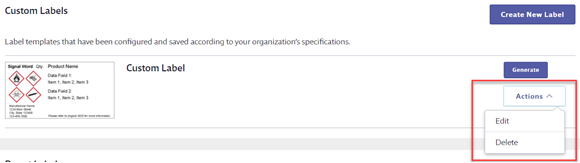
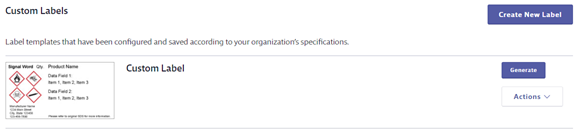
If the custom label template needs to be edited or deleted, an Account Administrator or Administrator can do so using the Actions drop-down on the Print Labels screen.