

Dashboard Administration
Dashboard administration allows you to:
- Manage the design and layout of information seen by users
- Create an avenue for information sharing that can be driven top-down
- Free up time for users by managing dashboards for them
Dashboard administrators can set up dashboards for roles at specified locations. Once dashboards are published, affected users will be able to access them. Any subsequent changes to the setup of these dashboards will automatically take effect for all users with access.
This article describes the following activities:
- Searching for and creating a dashboard
- Building a dashboard
- Publishing, deactivating, and deleting a dashboard
Search for and Creating a Dashboard
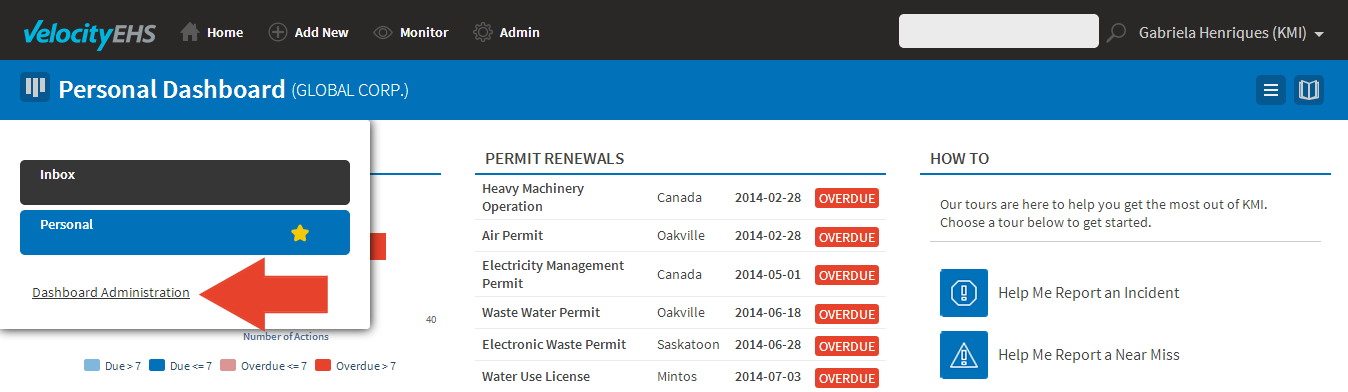
- From the home page, select the dashboard button and then Dashboard Administration. You can also access this through the General section of the Administration menu.
- Select the Role and Location where you would like to set up the dashboard.
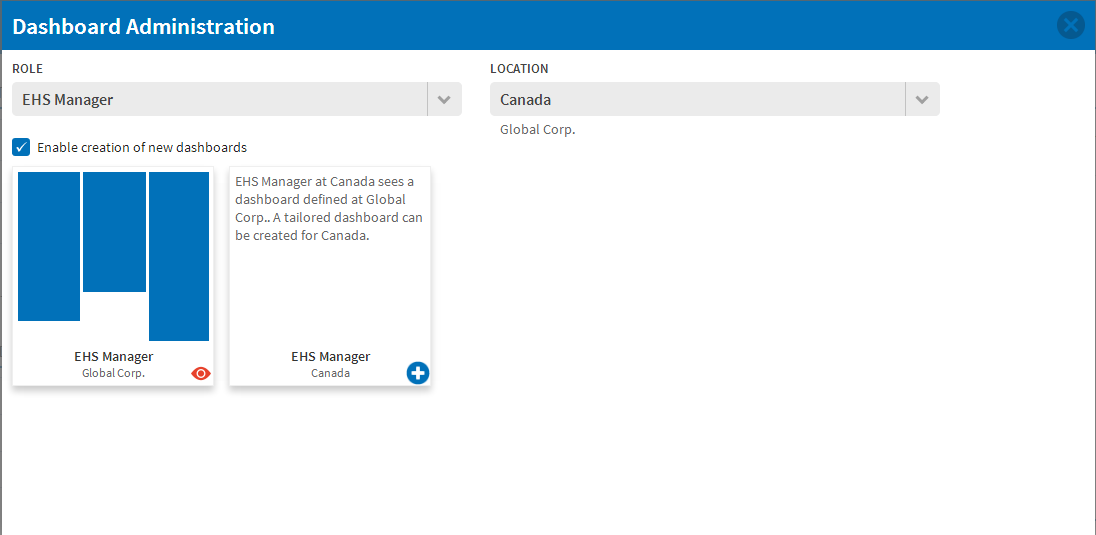
- Select the Enable creation of new dashboards checkbox. Any dashboards that are currently active or may be set up for a role at a location will be listed. Note that there can only be one dashboard per role per location.

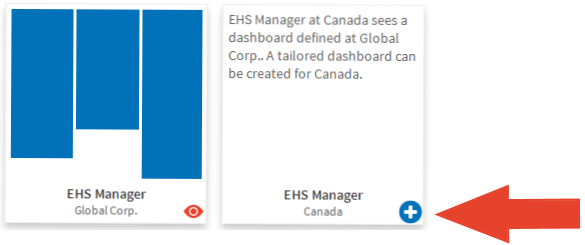
- Select the dashboard you would like to create for the role at a specified location. While creating a new dashboard, it will remain in a draft status until published. Draft dashboards can only be accessed by the dashboard administrator(s).
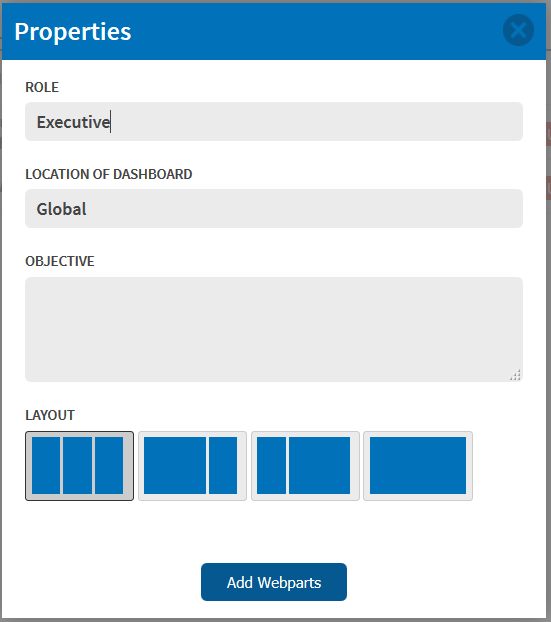
- Set the Objective you defined while planning the dashboard and select the Layout. The objective should indicate what the dashboard aims to achieve for that role at the selected location. The layout selected will be applied to all webparts on your dashboard. Select the Add Webparts button. You’re now ready to build your dashboard.
Build a Dashboard
The following steps apply when building all dashboards, including personal dashboards.
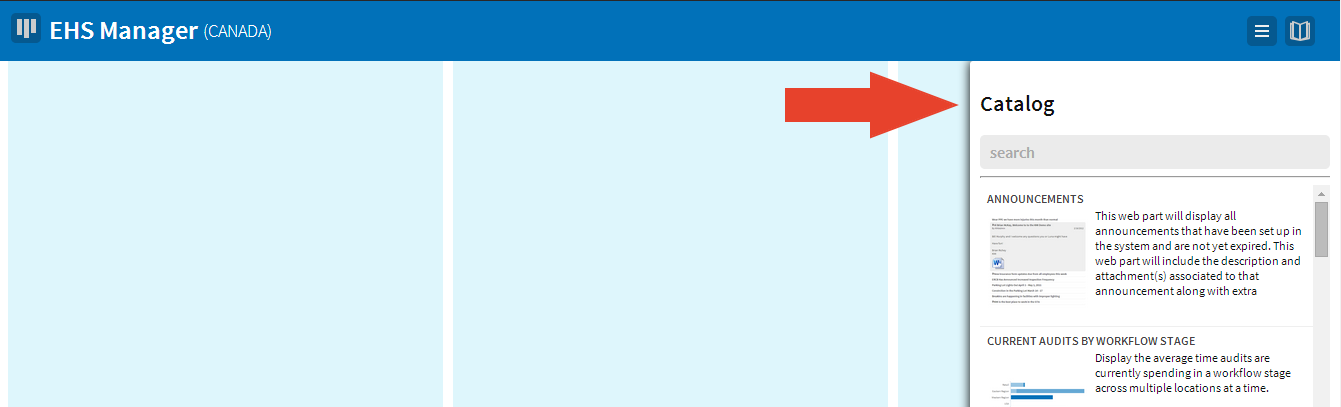
- Select the webpart that will meet the information needs identified during the planning stage. Scroll through the catalog on the right side of your screen or enter key words into the search box to narrow your list of webparts. Once you find the webpart you are looking for, drag and drop it onto your dashboard in the desired placement.
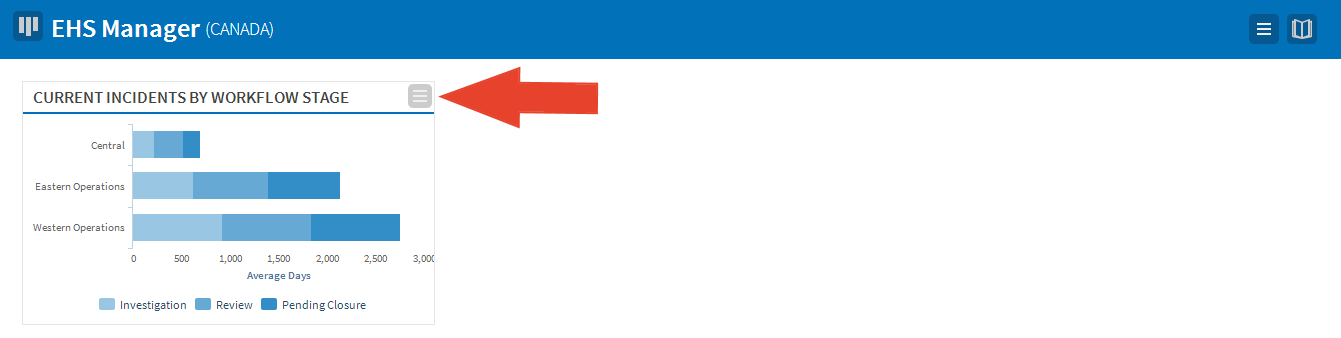
- In some cases you will have to set up the parameters for a webpart as soon as it is placed onto your dashboard. In other cases, webparts will already been set up for you. To remove or change the settings of a webpart, hover your mouse over it and select the action icon on the top right corner. A menu displays with all of the parameter selections for the webpart and two buttons at the bottom of the menu to save or remove it from your dashboard.
- Select the catalog icon to reopen the webpart catalog. Repeat step 1 until you have added all the webparts you need on your dashboard.
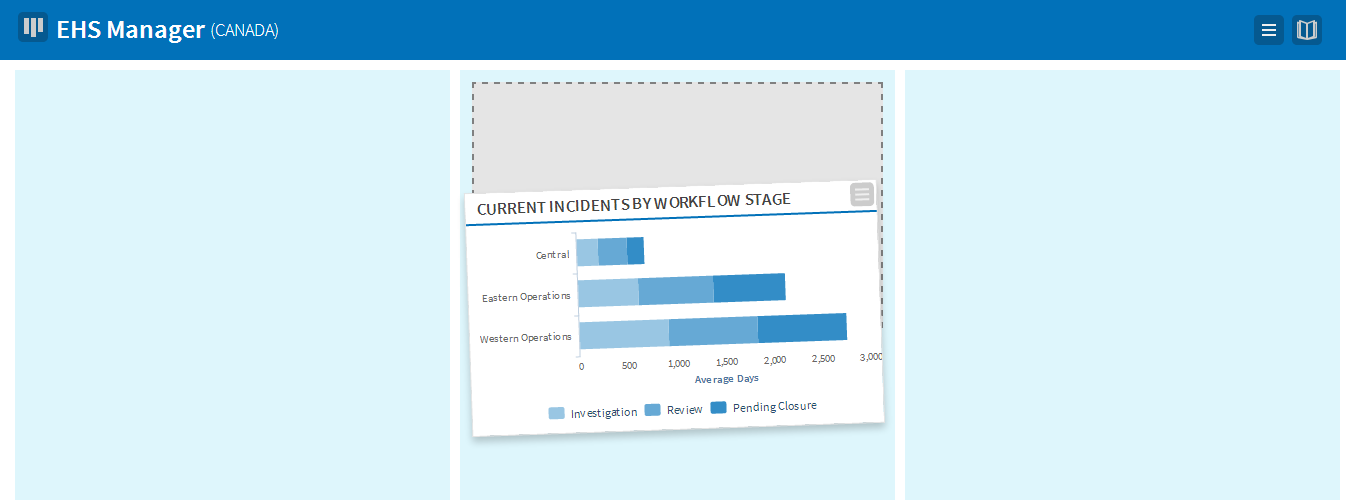
- To change the location of the webparts on your dashboard, click and drag the webpart to the desired placement. They will automatically reformat to fit the template you selected earlier.
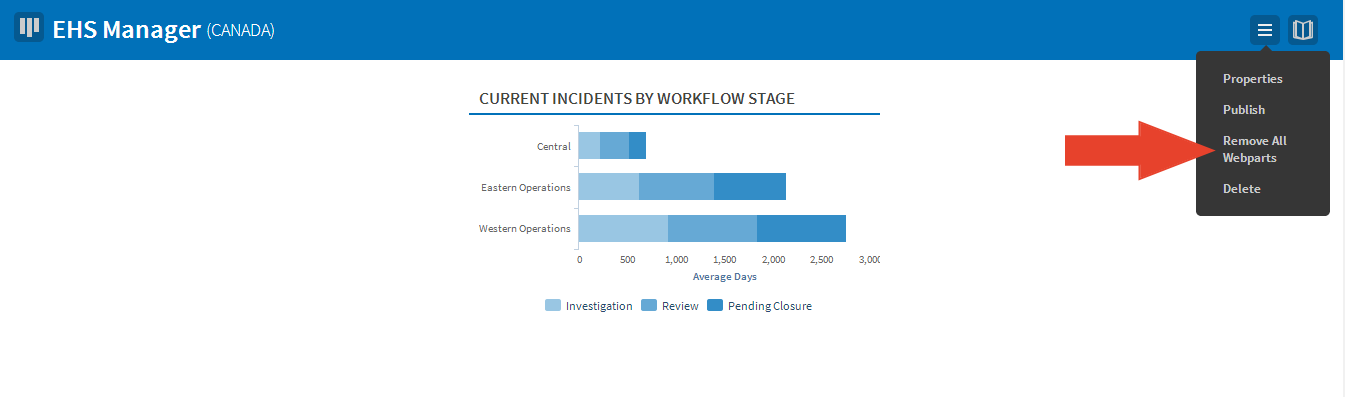
- If at any point you want to redesign the dashboard from scratch, select the action button and choose Remove all Webparts.
Publish, Deactivate, or Delete a Dashboard
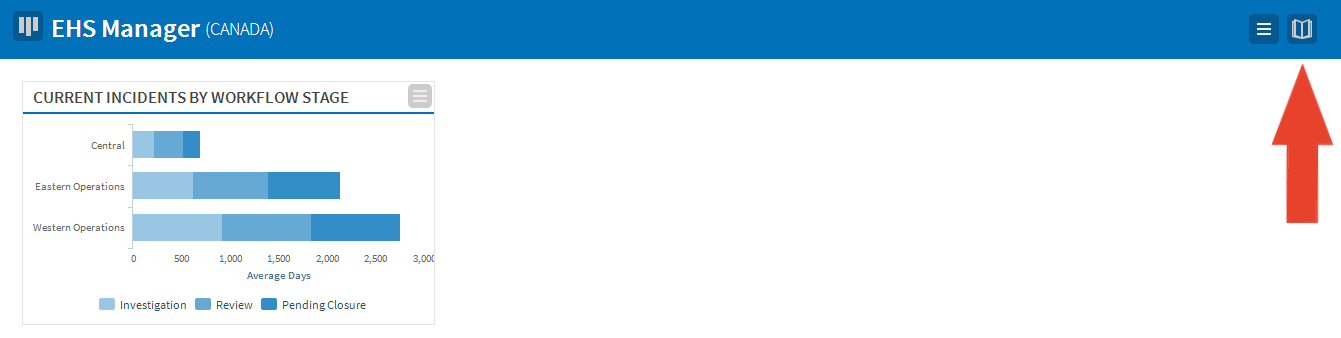
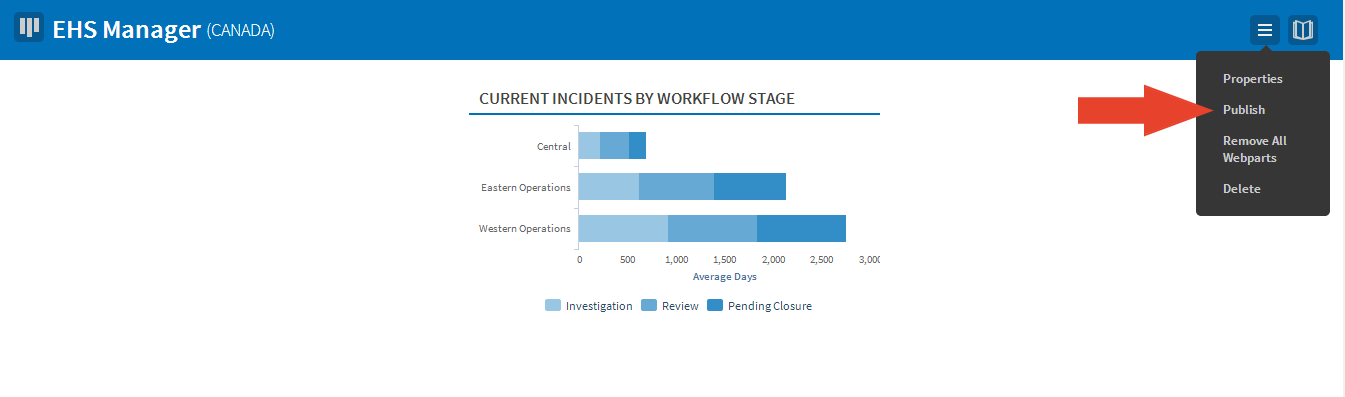
Until this point, the dashboard has been in a draft status and was only visible to dashboard administrators. When you are ready to publish it to the identified role, select the action button on the top right corner of the blue bar at the top of your screen and select Publish.
Everyone in the system with a role at the selected location or below it now has access to view the dashboard you created. Any changes made to the dashboard including editing its properties, rearranging webparts, or changing parameter selections on webparts will affect everyone who has access to view this dashboard.
You can deactivate a dashboard that has been published. Anyone who has access to view a published dashboard will no longer be able to once that dashboard is deactivated. Administrators may still search for the dashboard through Dashboard Administration, but it will be in a draft state. Deactivated dashboards may be published again through the action menu within the dashboard.
If there is a need to delete a dashboard, administrators can do so by selecting the action icon and choosing Delete. Once a dashboard has been deleted, it cannot be recovered; however, a new dashboard for that role and location may be created. All users with access to the dashboard will no longer see it.
