

Do
Recording a Video for an AI Hands and Wrists Assessment
Examples
Here are some examples of good and poor images that show how the video should and should not be captured.
Good Images
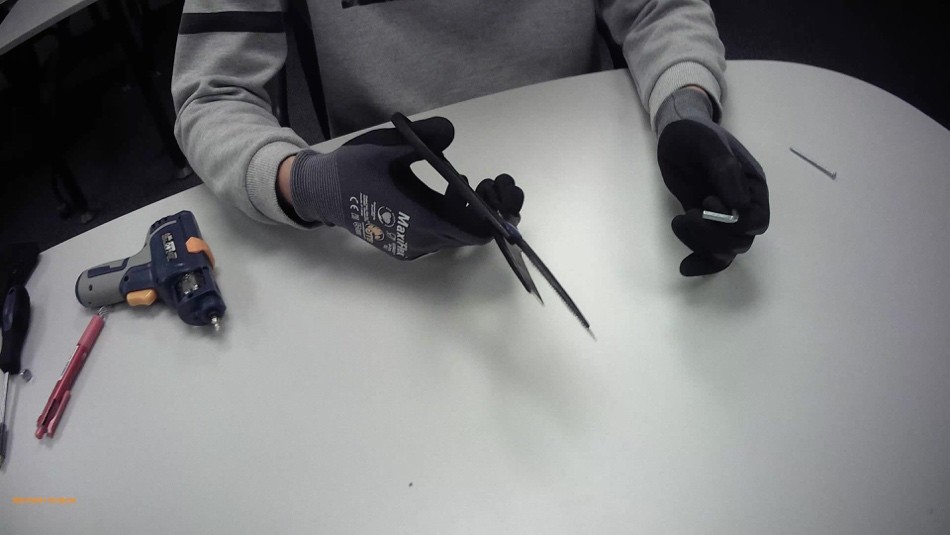
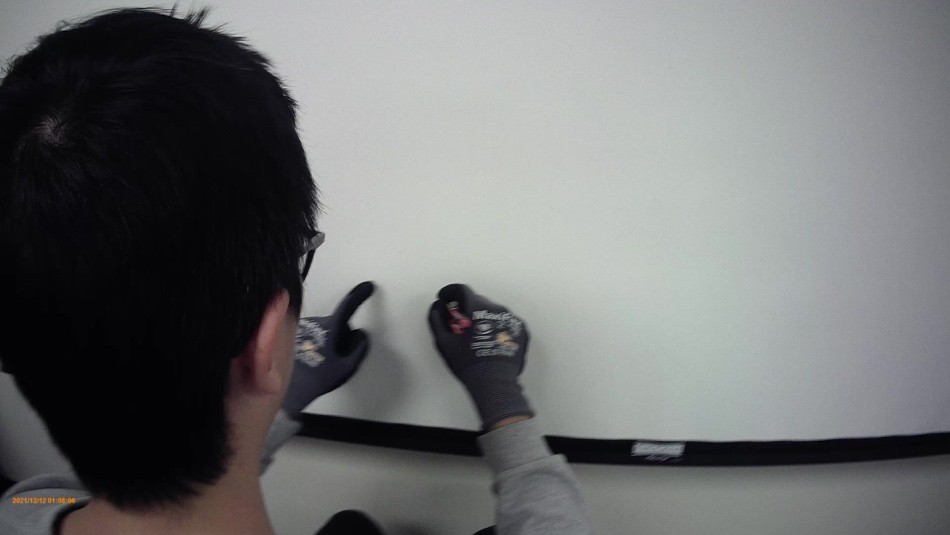
- Both hands and forearms are clearly visible and close to the camera, and the objects being handled can be seen at the point of contact:
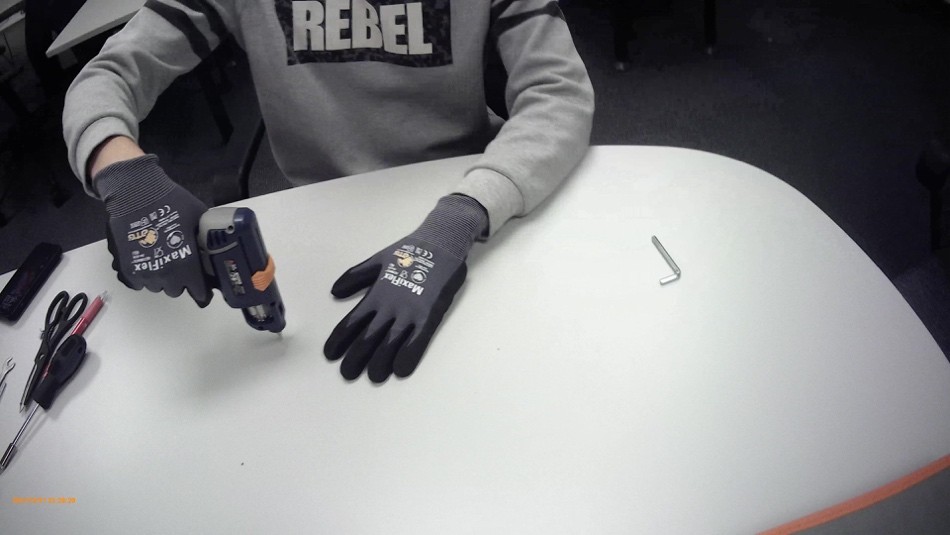
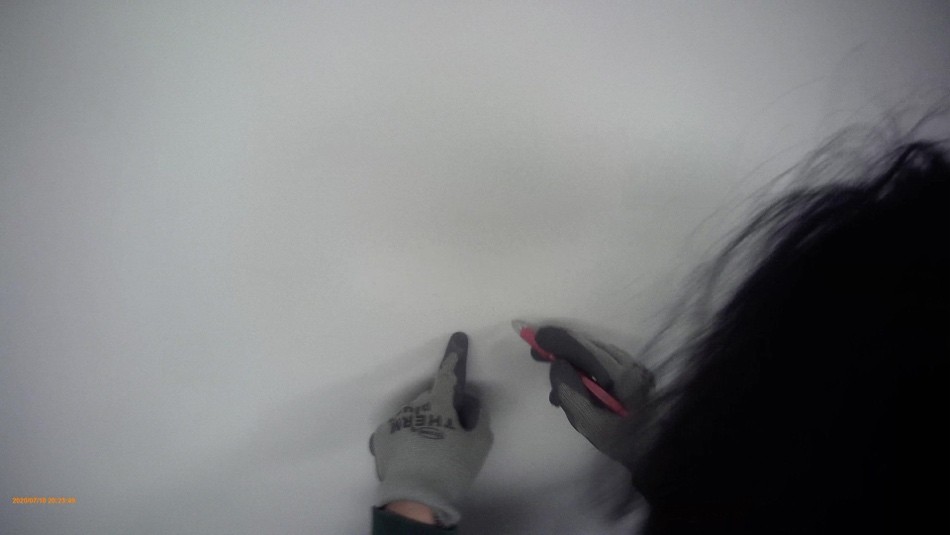
- The hands are close enough to the camera to clearly see hand posture and grip, with a clean background:
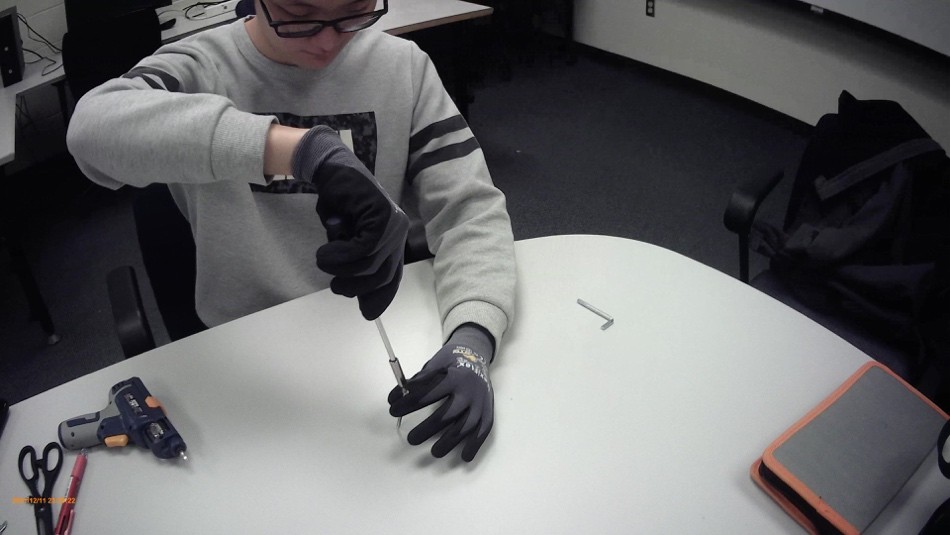
- Both hands remain visible during tool use, and the grip and object contact are easy to see:
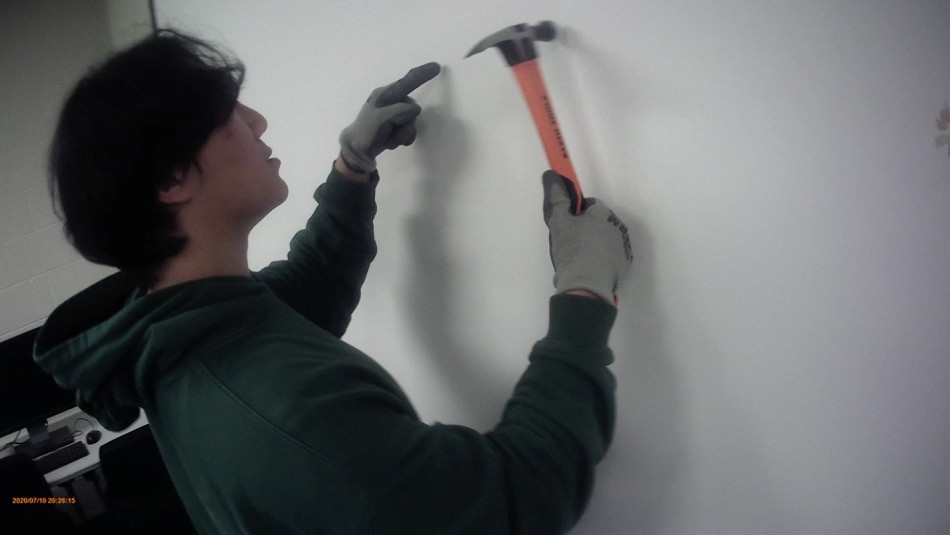
- Side view clearly shows both hands, the tool, and the point of contact without obstruction:
- Both hands and forearms are clearly visible and close to the camera, and the objects being handled can be seen at the point of contact:
Poor Images
- The left hand is blocked by the right hand, and the right-hand grip and tool contact are not clearly visible:
The worker’s body blocks part of the right forearm:
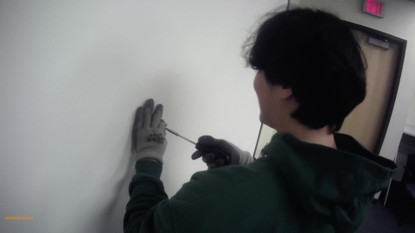
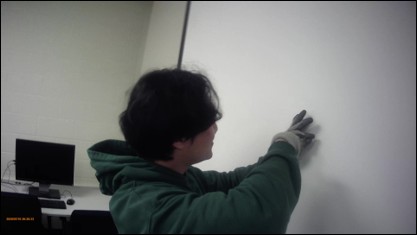
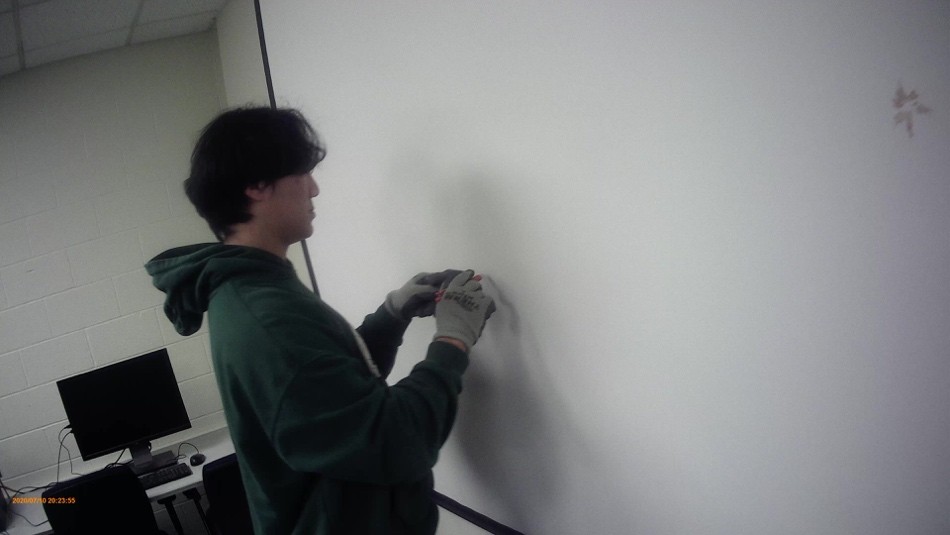
- The worker’s head blocks part of the hands and contact area:
- The right-hand grip is not visible and hand contact with object is not clear:
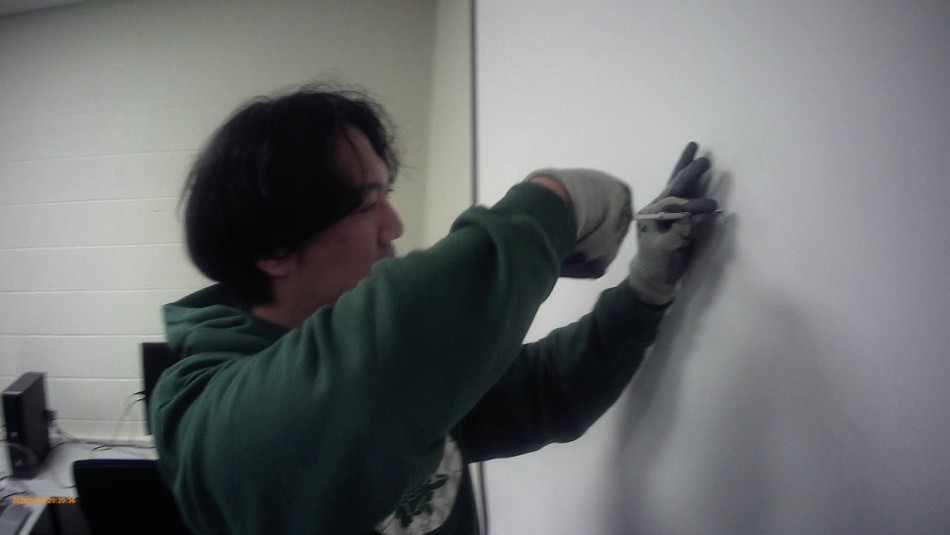
- The worker’s head blocks part of the left arm and hand:
- Camera is too distant, and the grips of the hands are not clearly visible:
- The left hand is blocked by the right hand, and the right-hand grip and tool contact are not clearly visible:
Was this helpful?
Thanks for your feedback!
