

Adding a New Course
This article addresses adding a brand new course. To find out how to update an existing course see Managing Existing Courses.
As an Administrator, you can add your own courses to Training & Learning. You can use any authoring tool you wish to create your courses, as long as the file you’re uploading is in SCORM 1.2 format.
Note: One license for iSpring Presenter is available for purchase through VelocityEHS as an add-on option. iSpring Presenter is an authoring tool you can use to convert your PowerPoint presentations into SCORM-format courses that you can upload to Training & Learning. See Using iSpring Presenter to Create and Add a SCORM Course for more.
There is currently no file size limit on uploaded courses.
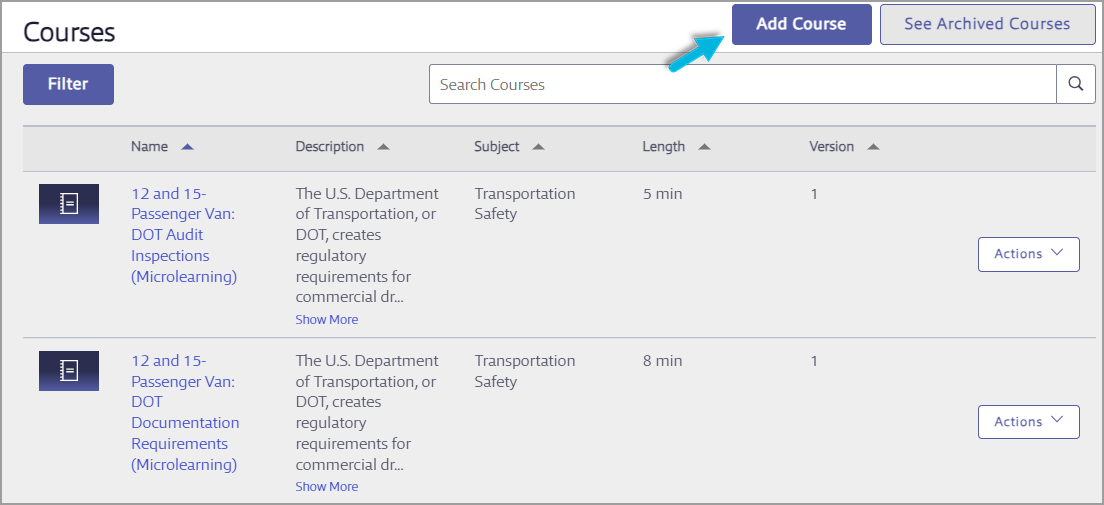
To add a new course, select Administration > Courses > Add Course.
Complete all required fields.
Select a Subject from the drop-down menu if you want your users to be able to browse for the course by subject in the Learning Center. If a course is not assigned a subject, it can only be found by searching for it by name from the home Dashboard or the Learning Center search function.
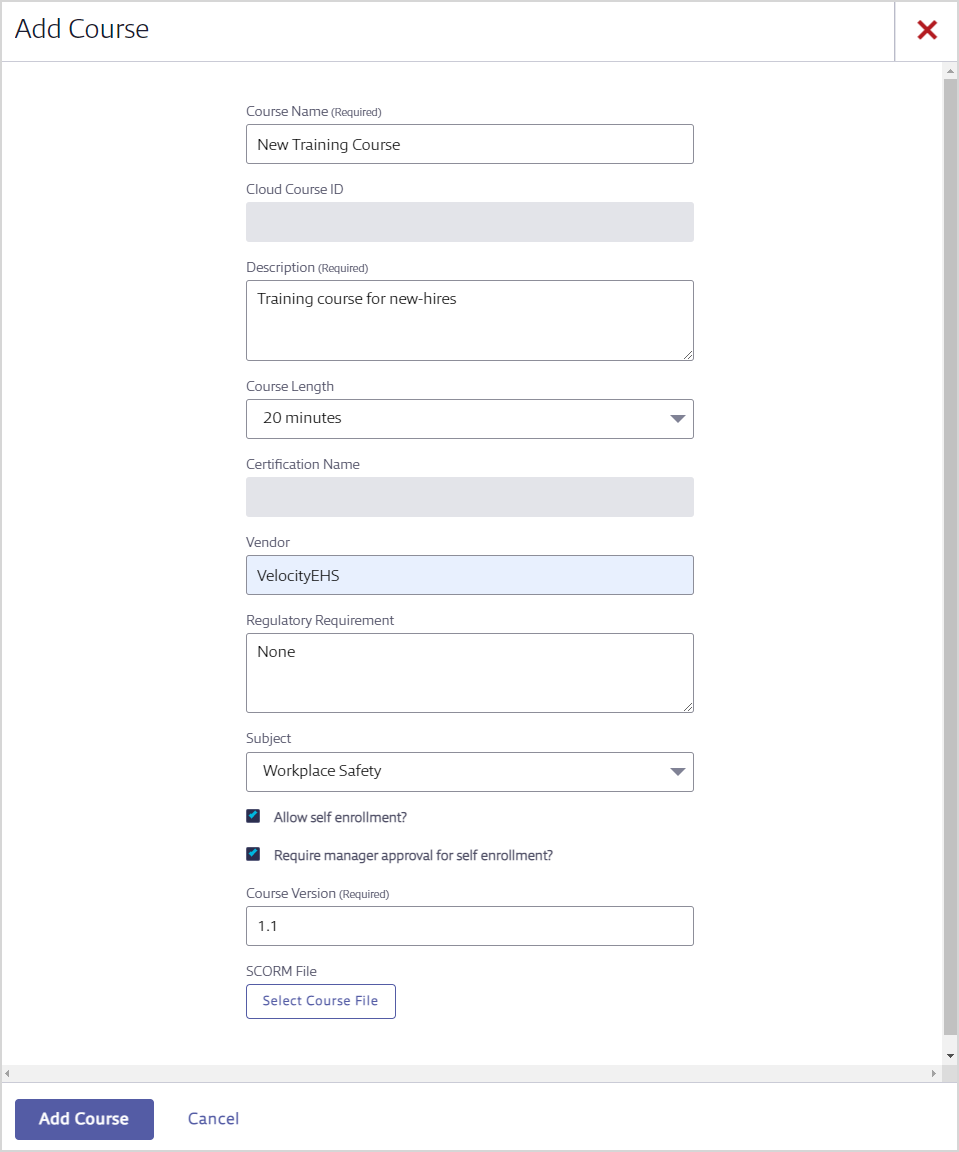
Choose enrollment options:
- Select Allow self-enrollment? to allow learners to launch the course directly. If this option is not selected, learners will see the course in the Learning Center but will not be able to enroll or request enrollment.
- If you allow self-enrollment, you can Require manager approval for self-enrollment. As a result, the learner will see a Request Approval button instead of an Enroll or Launch button. This means that the learner’s manager must approve the enrollment before the learner can begin the course.
Click Select Course File and follow the instructions to select the file for the course you want to upload. Then select Add Course and wait for confirmation that your course was added.
Optional: On the Course Details page, select Pin to Featured to display this course in the Featured Courses section of the Dashboard. This course will now appear on the Courses page.

