

Building Your Organizational Hierarchy
Organization Hierarchy Best Practices
To develop an organizational hierarchy, it is important to establish a uniform structure with a consistent number of levels throughout the organization.
Step 1: Determine how many levels you need for your organization.
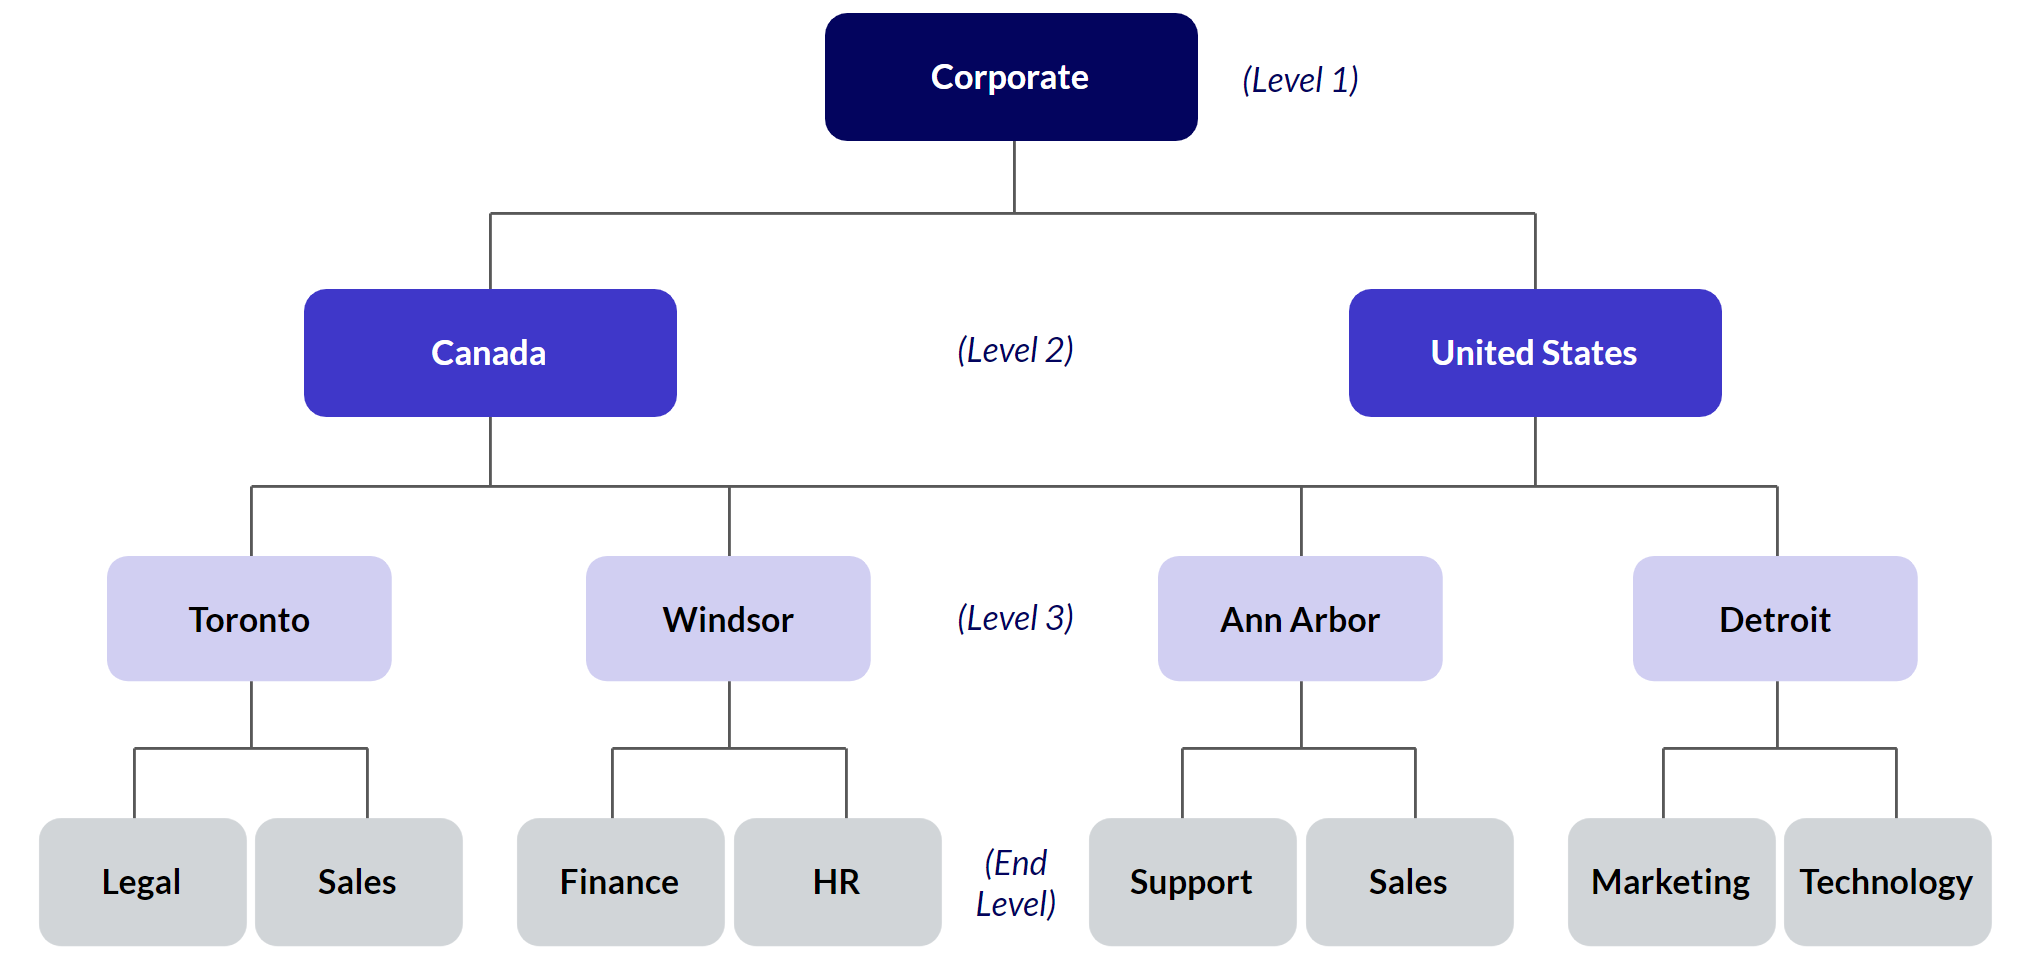
“Level 1,” the top level, represents your entire organization and should consist of a single entity that all other levels report up to. For example, Level 1 is commonly called Corporate, Enterprise, or Global.
Your last, or lowest, level represents specific sites or departments. This is your “end level.” Job assessments can only be associated with end levels.
While the software allows up to 6 levels, your organization may not need to use all 6. Here is an example setup:
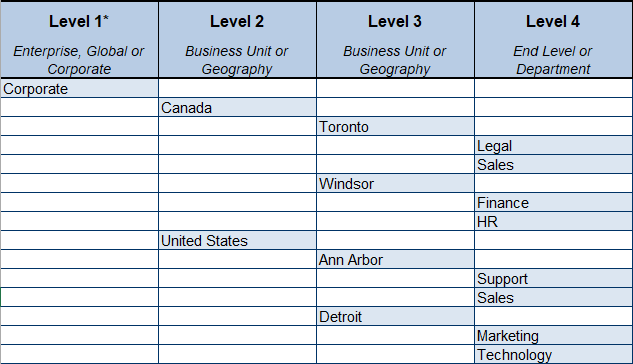
Step 2: Map your hierarchy using the Organization Hierarchy Template.
The template contains several organizational hierarchy examples.
Use this template to help you see your full organization hierarchy at a glance. This allows you to make sure you’ve consistently designated the same level as the end level for each branch in your hierarchy.
Adding and Managing Locations in Your Account
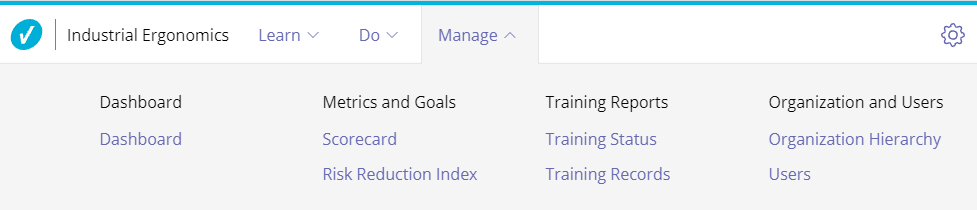
Note that Administrator level permissions are required to access the Organization Hierarchy menu.
Select Manage > Organization Hierarchy.
Select the location name and then the Add button to add a level beneath it.
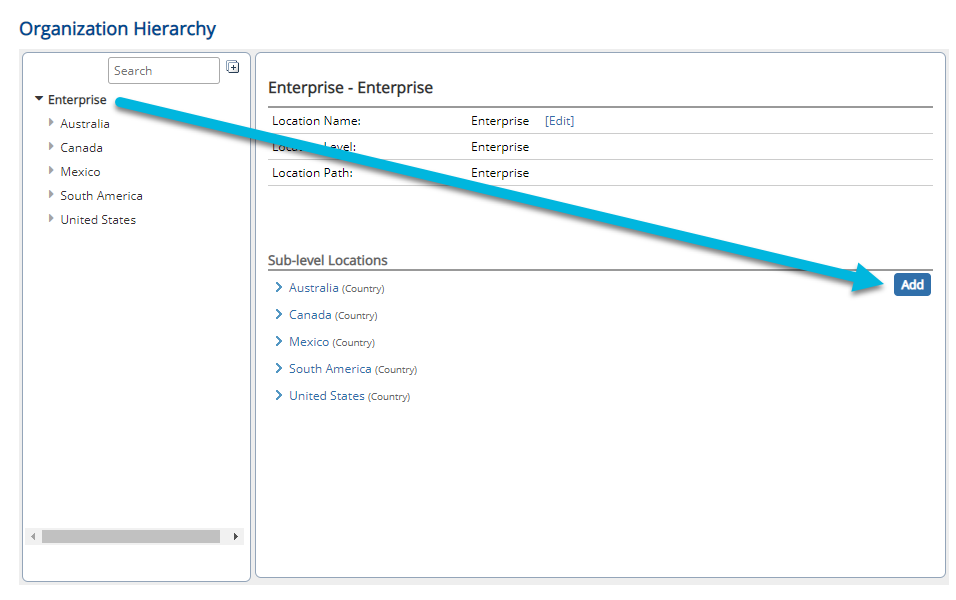
Enter the location name and select Add.
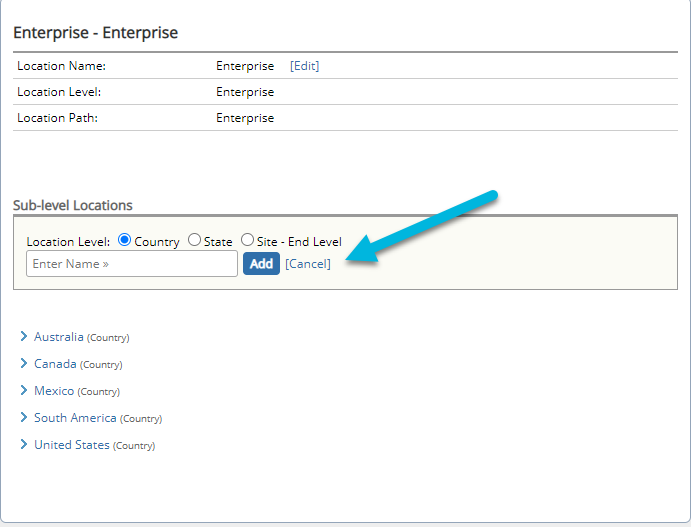
In the example above, the organization hierarchy is set up this way:
- Level 1 = Enterprise
- Level 2 = Country
- Level 3 = State
- Level 4 = Site – End Level
Renaming Locations
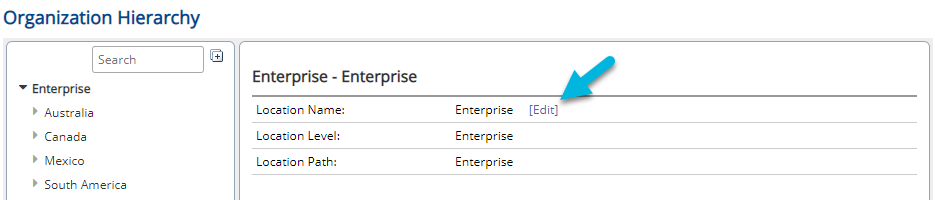
To rename an existing location, select Edit next to Location Name.
If you need to rename the location levels, please contact your Customer Success Manager or Customer Support.
Deleting Locations
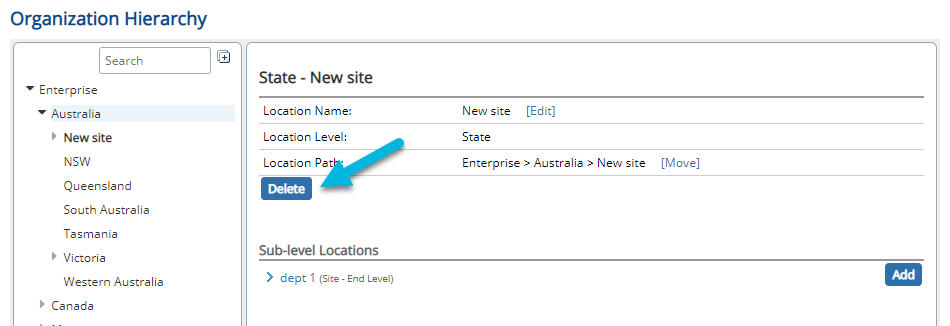
To delete a location, select the Delete button. Locations can only be deleted if there are no users or data associated with them. All users, permissions, and assessments must be removed from the location. Inactivating users does not count as removal.
Moving Locations
To move an existing location to a different spot in the hierarchy, select the Move option.

Select the “parent” level underneath which you want to move the location and select OK.
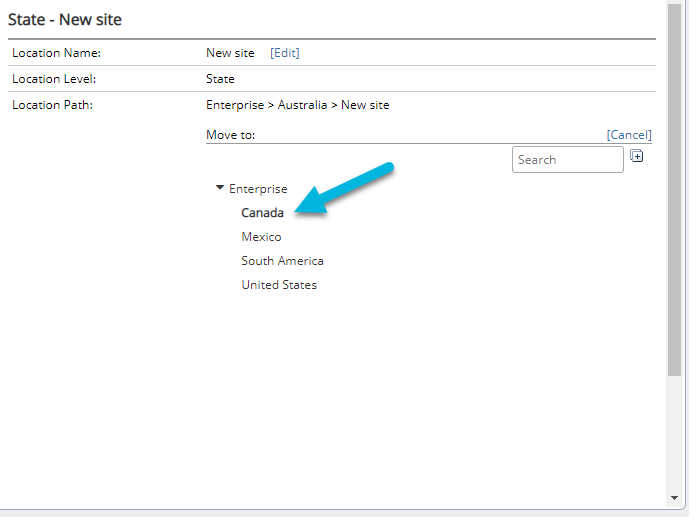
Because moving a location moves its sub-locations along with it, you cannot move a location under another one if doing so would exceed your defined number of location levels.
Moving a location will not affect user permissions, but it may affect reports.
