

Managing Users
To access the Operational Risk software, individuals must be defined as Users. Users are individual people who may belong to multiple groups and be assigned multiple roles.
Note: Depending on the permissions associated with your user profile, you may not have access to all options covered in this article.
To add a new user
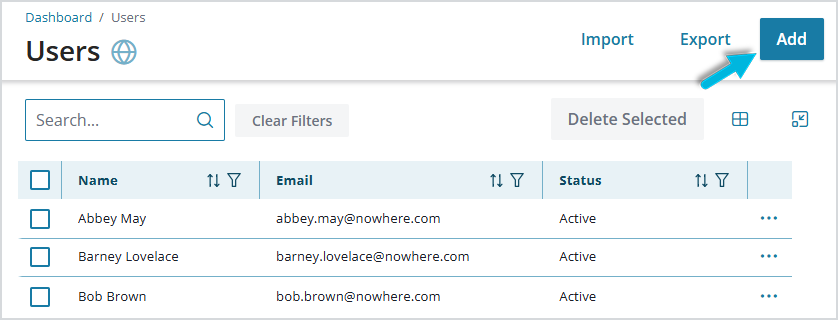
- From the menu, select Security > Users.
- Select the Add button at the top right.
- Enter a Name, Email address (required for logging in), and if groups have already been defined in the system, select one or more Groups to which the user should belong, according to the types of tasks they’ll be doing. To remove a selected group, choose the “x” next to the group name.
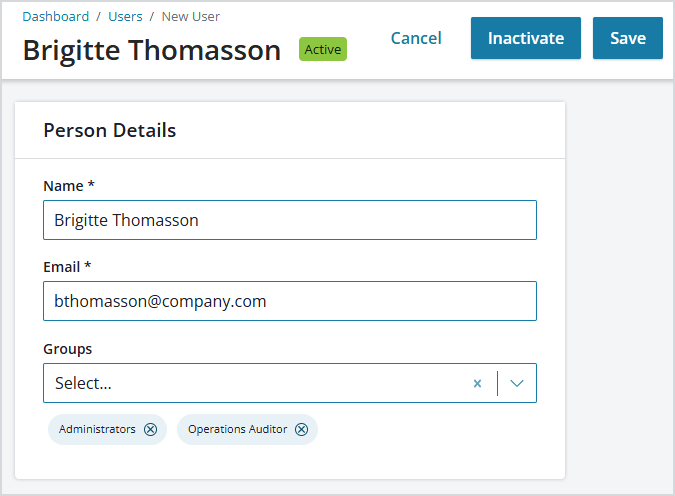
- Save the new user.
- Enter a Name, Email address (required for logging in), and if groups have already been defined in the system, select one or more Groups to which the user should belong, according to the types of tasks they’ll be doing. To remove a selected group, choose the “x” next to the group name.
To inactivate a user
To mark a user as inactive, select Inactivate at the top of the page. An inactive user can no longer access the system, but any records of items they have created or edited will remain. For this reason, it is recommended that users who no longer require access are made inactive, rather than deleted.
To reactivate the user, select Reactivate.
To delete a user
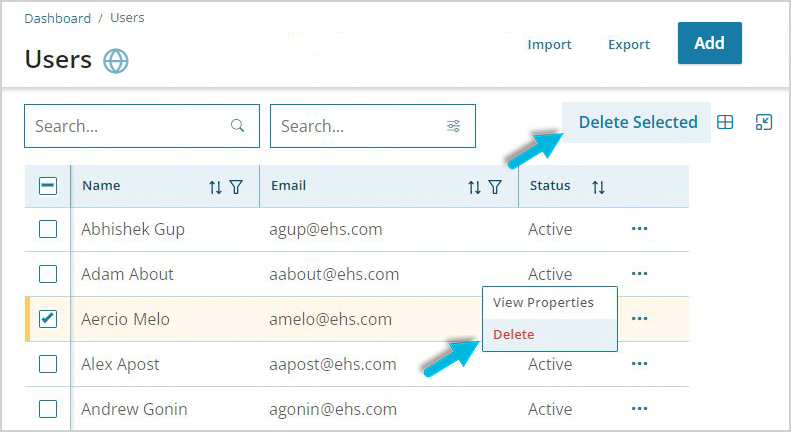
To delete a user, select Delete from the ellipsis menu. To delete multiple users at once, select them and choose Delete Selected.
To import multiple new users
You can use the Import function to import multiple new users at the same time via Microsoft Excel files.
Note: This process only adds new users and does not update current user data.
- Use the Edit Columns icon to select the data you want to include in the export/import (Name, Email, Status, Groups). Only data displayed on the Users page will be exported.
- Export the current list of users so that you have an accurate “template” of how the data should be organized. Clear the data to begin adding new users.
- Add one user per spreadsheet line. If a user belongs to multiple groups, list the groups, one after the other, separated by commas, with no added spaces.
- Import the spreadsheet.
For more details about the import/export process, see Importing and Exporting Data.
