

Creating and Completing a Risk Assessment Worksheet
A risk assessment is a single record where all of the information gathered during a risk assessment workshop—and beyond—can be recorded and stored, along with any related notes, action items, attachments, and notifications. Note that both risk assessment worksheets and bowties are “risk assessments.” However, they are presented in different formats and, ultimately, serve somewhat different purposes.
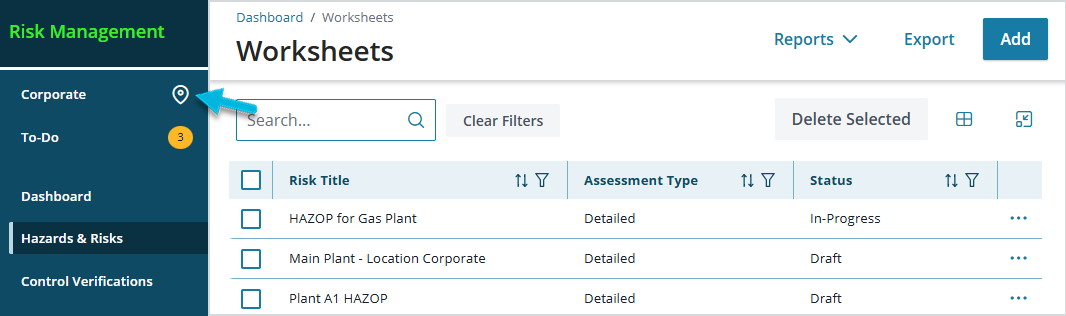
Risk assessments are location-specific, so before creating a new one, verify that the location you’re currently working with is the intended one.
First, Some Background
Each assessment type is best suited for different circumstances, but all have a similar format. In general, an assessment identifies some standard elements:
- The issue or item of focus and, in most cases, the source of the hazard or risk. This can also be what causes the issue, how it arises, the item of concern, depending on the approach.
- The impact or consequence of the issue or item of focus.
- The prevention or mitigation controls or treatments to reduce the impact.
- The recommendations or actions that need to be taken to ensure that the controls are implemented and effective.
So, when beginning an assessment, consider the following aspects:
- Context of the assessment and the details to be investigated by the process
- Requirements of the process and the output to be produced for the expected audience
- Degree of risk and the knowledge required to be captured to make an adequate determination
- Amount of time and resource availability to meet the needs of the assessment
- Any other company- or industry-specific requirements
Risk Assessment Types
The process of creating a risk assessment worksheet in Operational Risk supports the following types:
- Simple – straightforward, qualitative, and designed to address issues with actions, much like “what-ifs” and checklists
- Detailed – a qualitative, but more complex type of worksheet that has a structure of issues > consequences/causes > controls > actions
- HAZOP (Hazard and Operability Study) has the same overall structure as a detailed worksheet, but that contains some different/additional columns of data that aid in examining potential hazards and risks in a process or system during the operational or design phase.
- LOPA (Layer of Protection Analysis) has the same overall structure as a detailed or HAZOP worksheet, with different/additional columns of data. The LOPA is a semi-quantitative method for estimating the frequency and consequences of hazardous events and how effective the proposed or existing safeguards are. A LOPA analysis usually follows a HAZOP when scenarios were identified that require further study. A LOPA helps quantify the probability of risk and its impact, and identifies mitigation measures. Depending on how your system was set up in Administration during implementation, you may or may not see the LOPA option.
Qualitative Risk Assessment in Operational Risk
Qualitative risk assessment can be conducted within a worksheet by including the following information in the “inner view” (see Completing the Worksheet, below):
- Initial likelihood of the event without controls
- Mitigated likelihood of the event with existing controls in place
- Proposed likelihood if all proposed controls were implemented
- Initial severity of the consequence without controls
- Mitigated severity with existing controls in place
- Proposed severity of the consequence if all proposed controls were implemented
- Initial risk without controls
- Mitigated risk with controls in place
- Proposed risk if all proposed controls were implemented
All likelihood and severity rankings are selected by those completing the worksheet, without any calculation occurring in the system. The risk values, however, are assigned based on the selected likelihood and severity rankings as per the previously configured risk matrix (in Administration > (Configuration) Editor > Risk Matrix).
Creating a Risk Assessment Worksheet
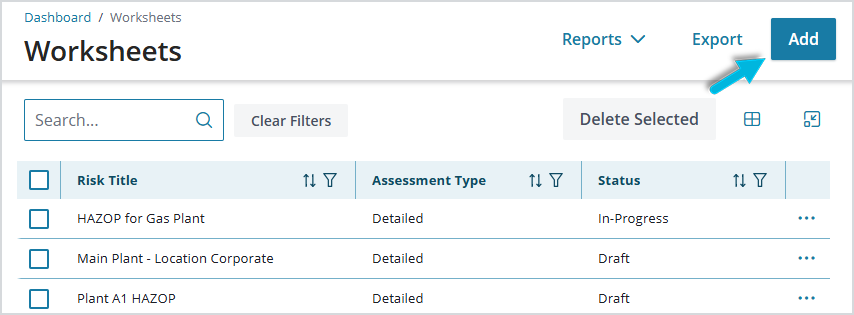
To create a new risk assessment worksheet, select Hazards & Risks > Worksheets > Add.
Begin by adding the identifying information (Primary Details) for the risk assessment. Keep in mind that some of the terms and options you see below may vary, depending on your settings in Administration.
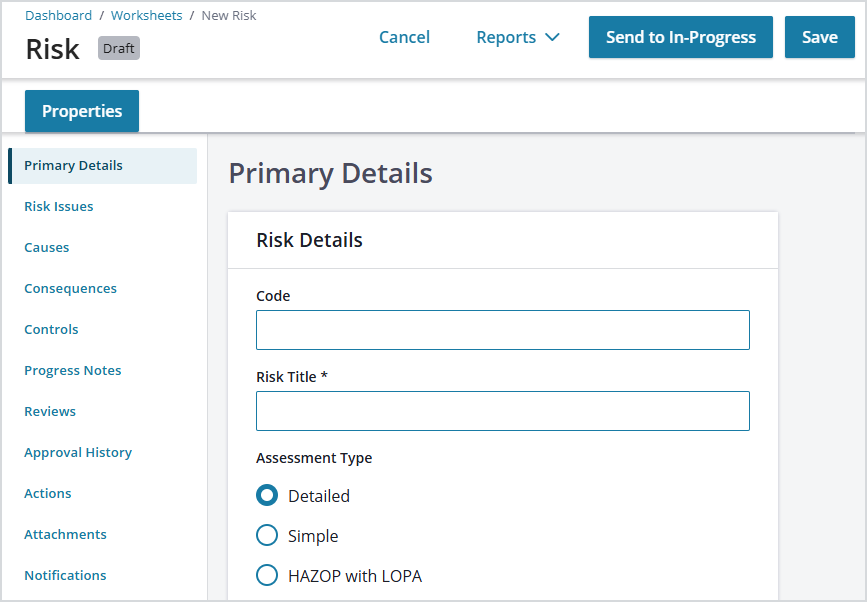
- Code – a unique identifier for this risk assessment
- Risk Title – describes the hazard for which the risk study is being created
- Assessment Type – determines what information can be entered in a risk assessment worksheet and the relationship between the “top event” and the subordinate risk items in the assessment worksheet. Note that once you’ve saved the assessment, the Assessment Type can not be changed, as the data structure is determined by this selection.
- Purpose, Scope, Additional Details, Assumptions, and Context are optional additions.
- Project – (defined in Administration > Local Setup > Projects) used to group multiple risk assessments under a single code, for example, “Gas Processing Plant Yearly Review”
- Type/Tag – (defined in Administration > Global Setup > Risk Types/Tags) used for categorizing and reporting purposes. The Type/Tag selected determines the default worksheet perspective for the assessment, if one is assigned to it. Note that Worksheet Perspective Available must be enabled in Register Policies > General to allow assignment of default perspectives.
- People Impacted Mode – if Enable People Impacted is selected in the Risk Assessment Register Policies section of the (Administration) Configuration Editor, select Risk Issue to make the People Impacted field available for each risk issue in the worksheet, or Risk Consequence to make the field available for each individual consequence instead. In the worksheet, use this field to select the group of people most affected by the issue/consequence, for example, Public, Employees, or Contractors. (These options are determined in Administration > Configuration (Editor) > Lookups > People Impacted Settings.)
- Control Verifications Enabled – for Detailed Assessment Types, select Yes to enable users to create recurring verification activities within the risk assessment worksheet. This allows for a more integrated and automatic verification process that can be used instead of relying on “actions” alone.
- Start, End Date – for documentation purposes, enter the Start Date when beginning the assessment, and add the End Date when it’s complete. The dates are useful if there are plans to include verification activities.
- Risk Assessment/Study Coordinator – the owner or primary contact for the assessment
- Department, Location/Sub Area – (defined in Administration > Local Setup) these fields are additional, optional categories to help you organize the risk data
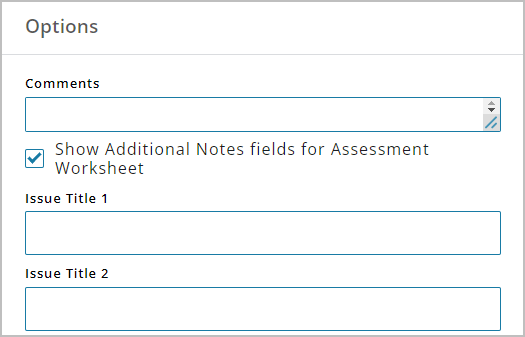
- Show Additional Notes fields for Assessment Worksheet – select this option to display additional fields (for issues, causes, consequences, and controls) to which you can assign custom names. Each field with a name represents a column that will be added to the assessment worksheet.
Select Save at the top right of the page to save the Primary Details and keep the record as a draft. Or, select Send to In-Progress to mark the assessment as ready for the data collection phase.
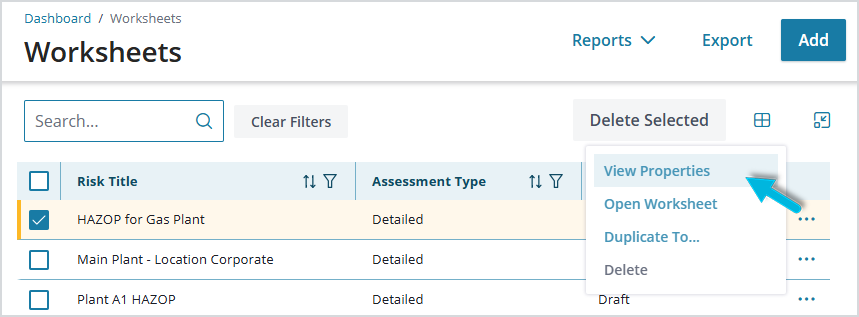
To access the worksheet Primary Details at any time, select View Properties from the Actions column. You can continue to make changes while the assessment is not yet complete.
Completing the Worksheet
After creating a risk assessment and adding Primary Details, you can define causes, related consequences, and controls, as well as action items to address the identified risks, and more. To add this information, left-click the ellipsis icon (…) in the Actions column and select Open Worksheet > Insert New Issue.
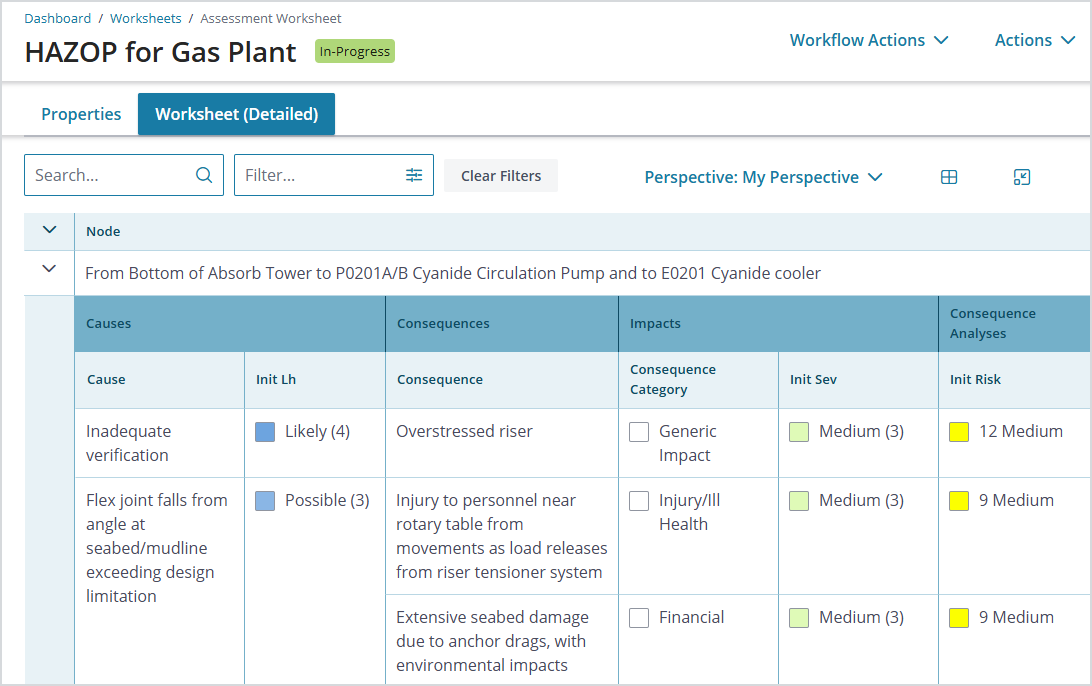
Worksheets have outer and inner “views.” The outer view, or node, represents the issue itself. The inner view contains the details associated with a single issue or node, including a variety of causes, all related to the original issue.
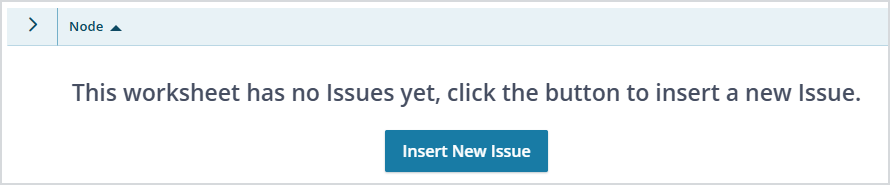
To begin, select Insert New Issue.
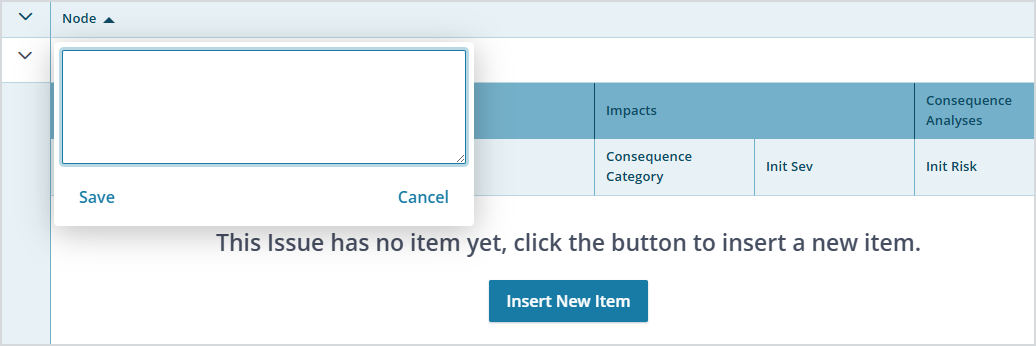
In the outer view, double-click the row to add an issue name, and then select Insert New Item to add the first cause, consequence, or control.
In the inner view, double-click each field to add a cause, consequence, or control. Right-click each field for additional functions. Repeat this process for each issue identified with the hazard. Note that you can collapse the issue, hiding all inner view information, by selecting the caret symbol to the left of the issue name.
The worksheet saves automatically as you update it.
Additional Properties
For all types of worksheets, you can also add or view the following items (accessed from the left navigation pane), which provide additional context for the risk assessment:
- Progress Notes
- Reviews
- Approval History
- Actions
- Attachments
- Notifications
- Change Tracking
See Common Properties for more.
What’s Next?
- This may be the end of the process for that risk assessment, which is often the case for simple or “checklist” type assessments that might require only a one-time review.
- The results of the risk assessment may highlight certain higher-risk areas that require further review, or that may require regular checks to make sure risk remains at an acceptable level. In cases like this, for all Assessment Types except “Simple,” generating a bowtie may be the next logical step, to create a “living” record of the risk that can be monitored for changes that might increase that risk. For more information about bowties, start here: Working with Bowties.
