

Creating a Materiality Survey
To create a materiality survey, select the Create First Survey button. Follow the instructions in the stepper that will guide you through the process from start to finish. The first step is to select an end date for the survey. Use the calendar dropdown (click the calendar button in the right end of the field) to select an end date for the survey. This is the date the survey will stop receiving responses from your recipients. You can always extend the end date of your survey if the date has not yet occurred.

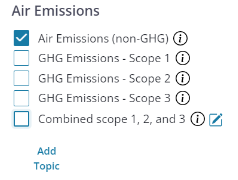
In the next section, Topics, you can select which topics will appear on your survey. These are the topics your recipients will rate on a scale of 1 to 5 to communicate their importance. The topics are divided by environmental, social, and governance sections. You can select and deselect all topics by section.
Custom Materiality Topics
To create a new topic, click the New Topic text in the subsection you wish to add the topic. Enter a name and description for your topic and click Save to create the topic. Select Cancel to go back. If you do not wish your custom topic to appear in the materiality survey, you can de-select it. To edit your custom topic, select the little notepad symbol to the right of your topic. You can change the name and description of your topic. Select Save to persist changes and Cancel to go back.
Finalizing Topics
When you have picked out your topics and are confident with your selection, click the Finalize Topics button to confirm your selection. Once you have finalized topics, you cannot change them for the survey, so please consider your topics carefully. In the prompt select Yes, Finalize or No, Go Back. When you finalize your topics, the software will create the entire survey for you with every topic you selected. You can preview your survey before you send it out in the Preview and Send section of the survey stepper.
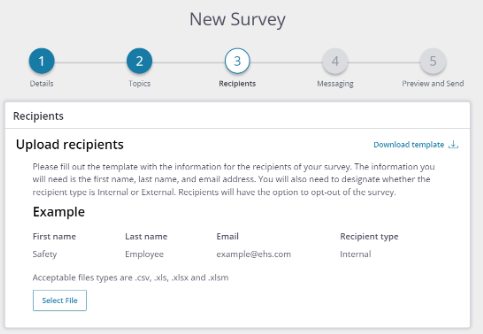
Importing Recipients
In the next step, Recipients, you can upload your list of stakeholders. These will be your survey respondents. To download a template, select the Download Template text in the top right corner of the card. You can fill out this template with the required fields (first name, last name, email, and recipient type). Recipient type can be either internal or external. This means you consider a recipient either internal to your organization (like an employee or manager) or external to your organization (like a contractor, vendor, or regulatory/governmental personnel).

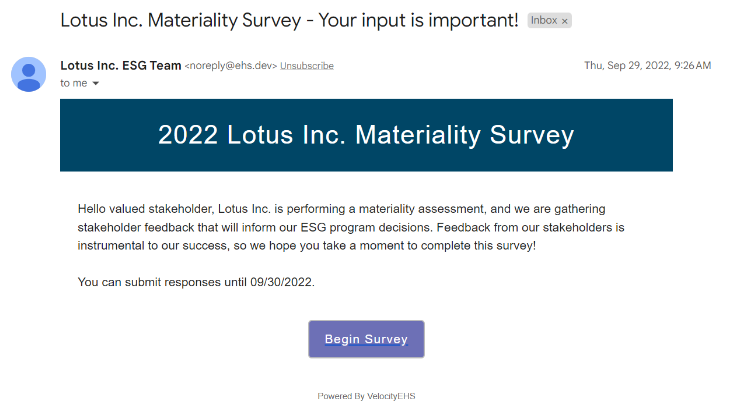
Email and Survey messaging
In step 4 of the survey creation stepper, you can specify the email and survey messaging your recipients will receive. For the email, you can specify these fields:
Sent from display name – this is the name of the sender as it appears in the email inbox of your recipients
Email subject – this is the subject of the email as it appears in the email inbox of your recipients
Email Body – this will be the text contained within the email itself. It is helpful to explain to your recipients the purpose of the survey and how the results will impact your organization.
For instructional text within the survey itself, you can specify these fields:
Survey title – Title of the survey
Introduction – introductory paragraph that appears right below the title on the first page of the materiality survey
Closing – a thank you note to recipients who complete your survey
Preview and Send
Before you send out your survey, you can preview its appearance in step 5 of the stepper. When you are ready, you can click Send and the survey will be sent out to all your recipients.
View progress towards survey goals
After you send out your survey, you can view the number of respondents that have completed the survey based on the completion bar that appears for the survey. To export raw survey results, click on the three dots and select Export Data. When your recipients are filling out the survey, they will rate each materiality topic on a scale of one to five.
